The Basics
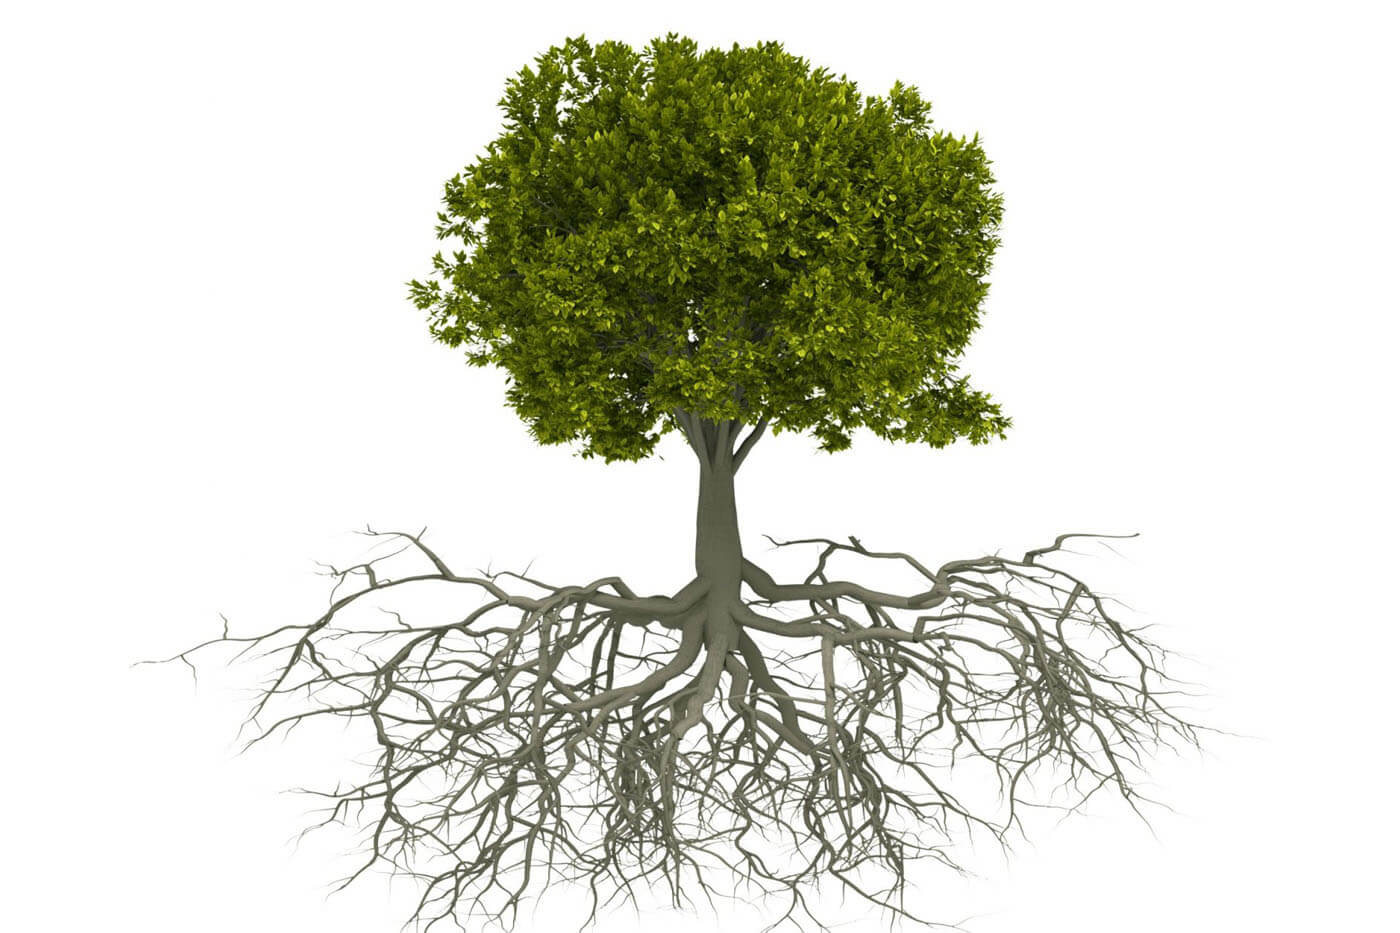
Trees need your attention to survive & thrive!
Feeding
Now is the time to apply your first feed of the season. Apply a slow-release, granular tree and shrub fertilizer in the mulched saucer at the base of the tree and water in well. Re-apply the tree and shrub fertilizer again in mid-July, but do not feed your trees after the first of August as this can promote new growth that may not have time to harden-off before winter. If your trees are struggling this spring, apply both the slow-release granular feed and a water-soluble fertilizer once per week for the next four weeks. Apply as per the manufacture’s specifications.

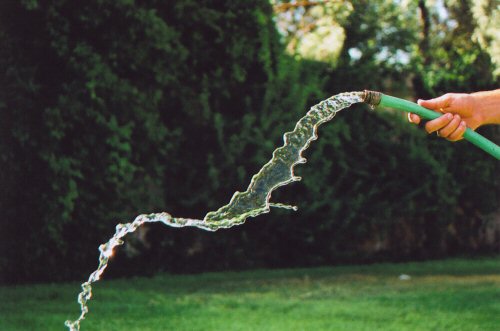
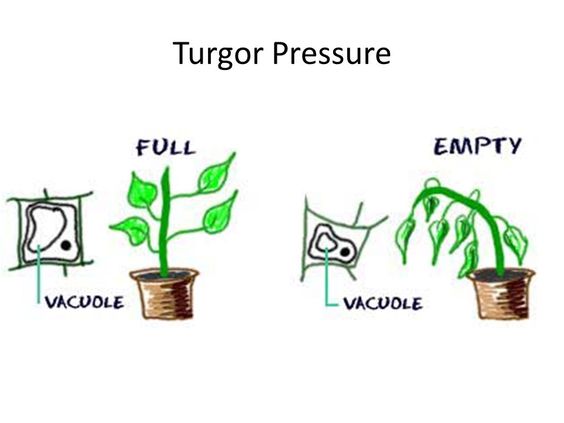
Watering
We’re having a very dry spring with little rain following a winter with very little snow, and we’ve gone from winter to summer in just a few weeks. As a result, we are now experiencing very dry ground and soil conditions. With a lack of natural moisture, you need to make sure your plants receive adequate water. To get a visual understanding of how much water a tree requires, think of it this way – a tree requires at least the same amount of water as the size of the rootball (when planted) at least 3 times per week. You need to make sure your tree receives at least 5-10 gallons of water directly to its roots at least 3 times per week, throughout the two growing seasons. This will ensure your trees are getting a really good deep root soaking. Trees require supplementary water at this time of the year to form healthy foliage.
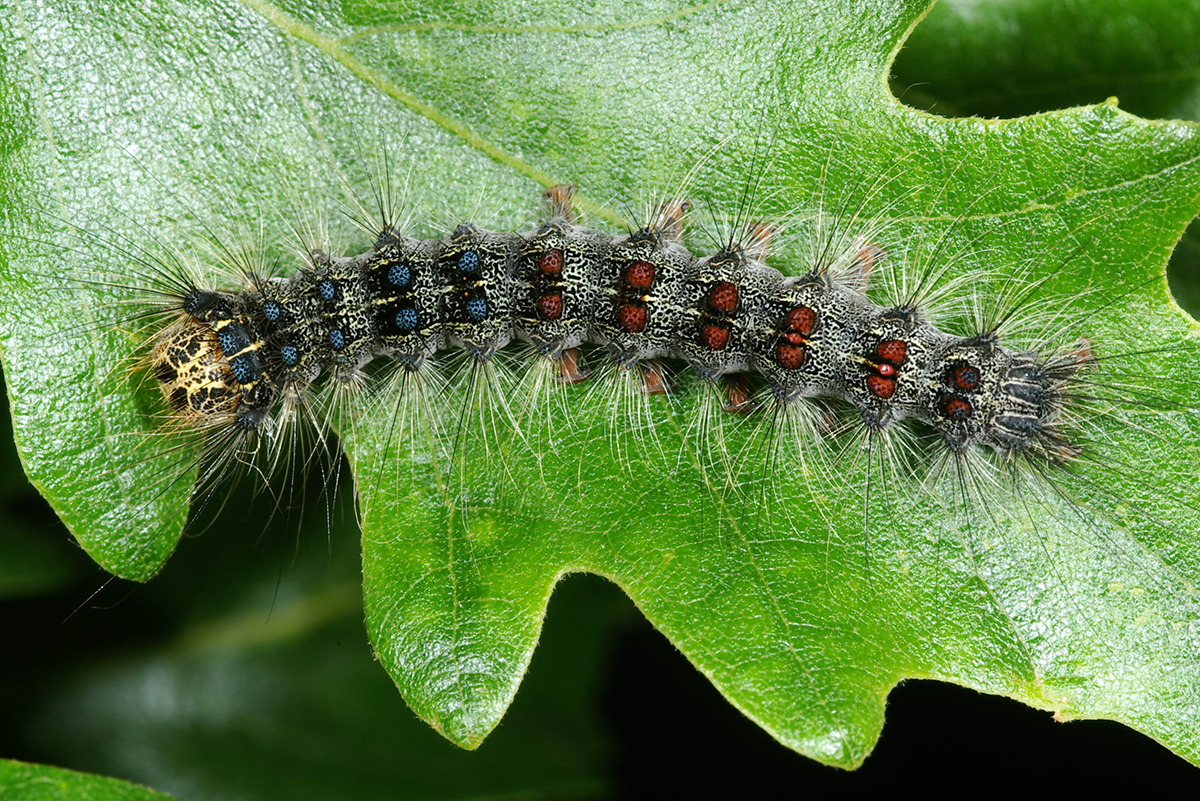
Caterpillar Damage
We have been seeing damage on tree leaves this spring. If you are seeing holes in tree foliage, it might be from caterpillars and bugs – they seem to be in abundance this spring. The best solution is to spray with Bug-be-Gone. Make sure you spray on a day with little or no wind and follow the manufactures instructions on the bottle. Please ensure you are wearing your personal protection equipment before commencing with any tree spraying.
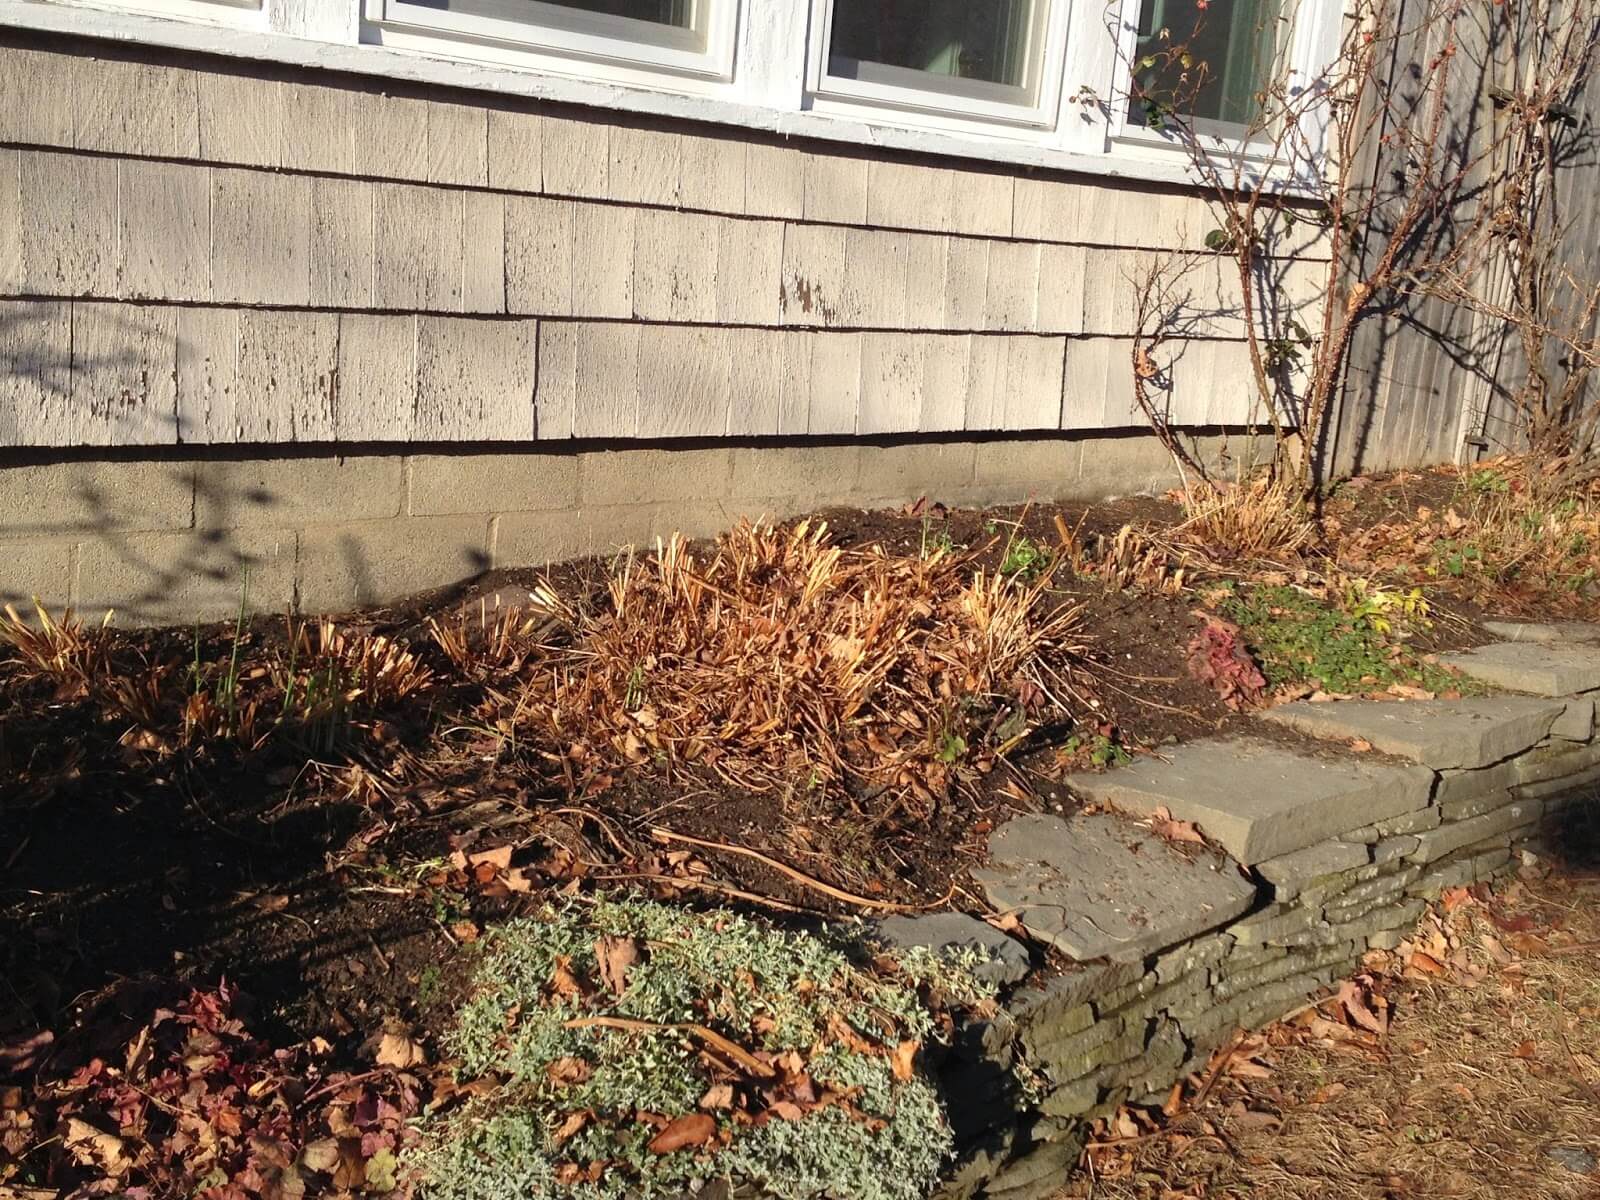
Winter Damage
With last winter’s weather conditions – a few really cold days and then warm days – there has been winter damage on trees. This usually doesn’t kill a tree, however, it can be unsightly for the growing season. You can choose to remove dead branch tips, but as the tree grows over the summer most of the winter damage will be hidden by new growth. Make sure to water your trees well up until the first hard frost of the season. Trees that have enough water in their branches and needles tend to do better through the winter and have less spring damage.
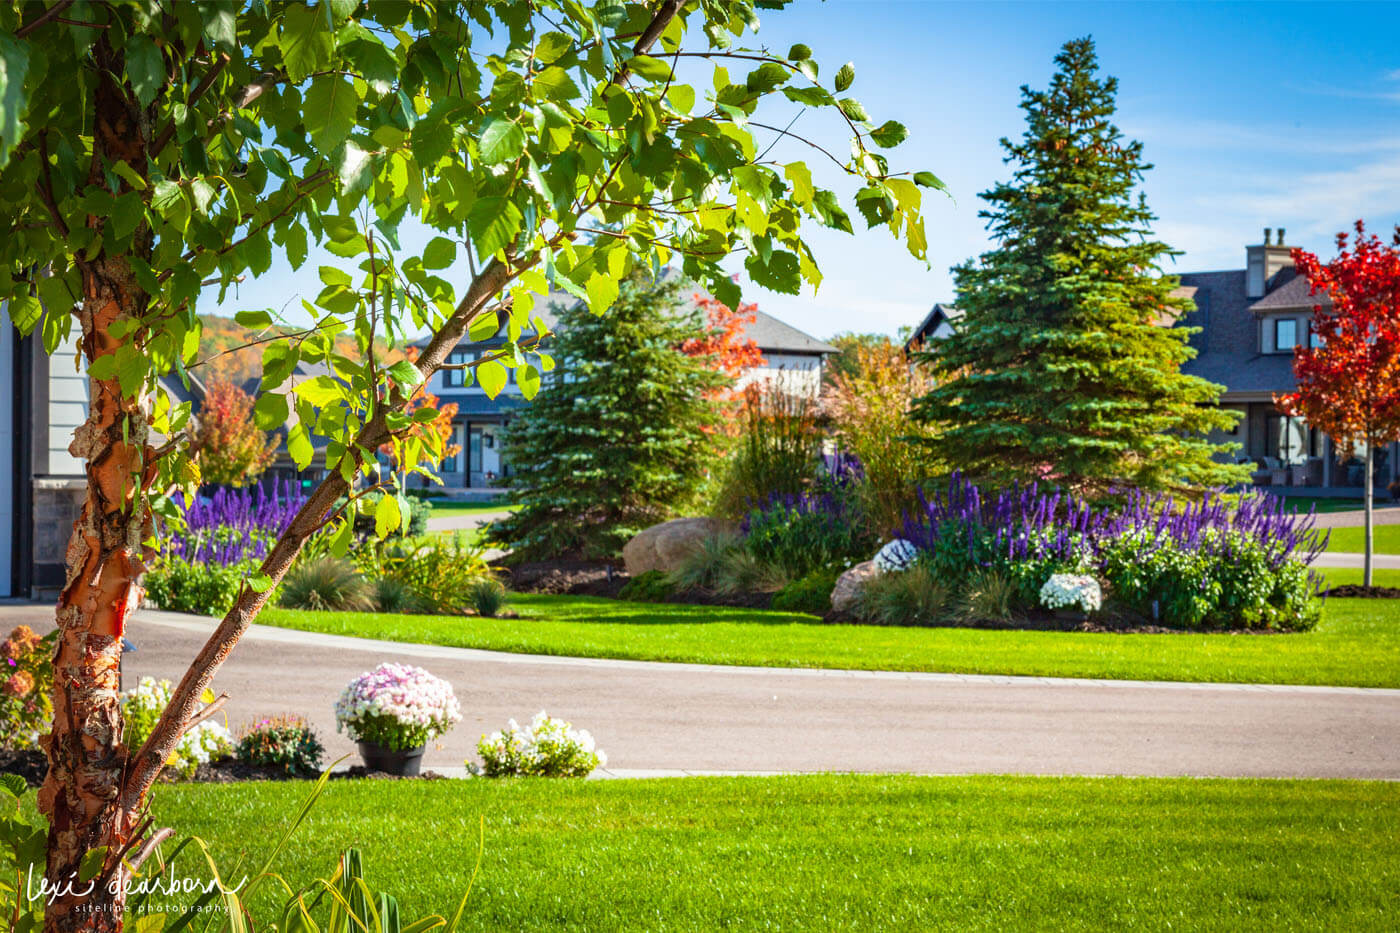
Trees just need a bit of TLC and they will be lovely for years. Trees add value to your property.
Lexi – The Gabby Gardener


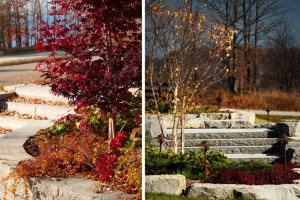
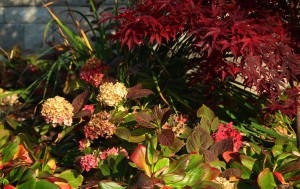
 Ah, Autumn!