• Skip to primary navigation
  • Skip to main content
  • Skip to footer
  • Home
  • Gallery
  • Design Process
  • Our Company
  • Blog
  • Contact
  • Nav Social Menu

    LinkedIn Facebook Twitter

Garden Maintenance

How to Maintain and Care for your Trees

June 12, 2020 by Lexi Dearborn Leave a Comment

The Basics

Trees need your attention to survive & thrive! 

Healthy Roots, Healthy Trees

Feeding

Now is the time to apply your first feed of the season. Apply a slow-release, granular tree and shrub fertilizer in the mulched saucer at the base of the tree and water in well. Re-apply the tree and shrub fertilizer again in mid-July, but do not feed your trees after the first of August as this can promote new growth that may not have time to harden-off before winter. If your trees are struggling this spring, apply both the slow-release granular feed and a water-soluble fertilizer once per week for the next four weeks. Apply as per the manufacture’s specifications.
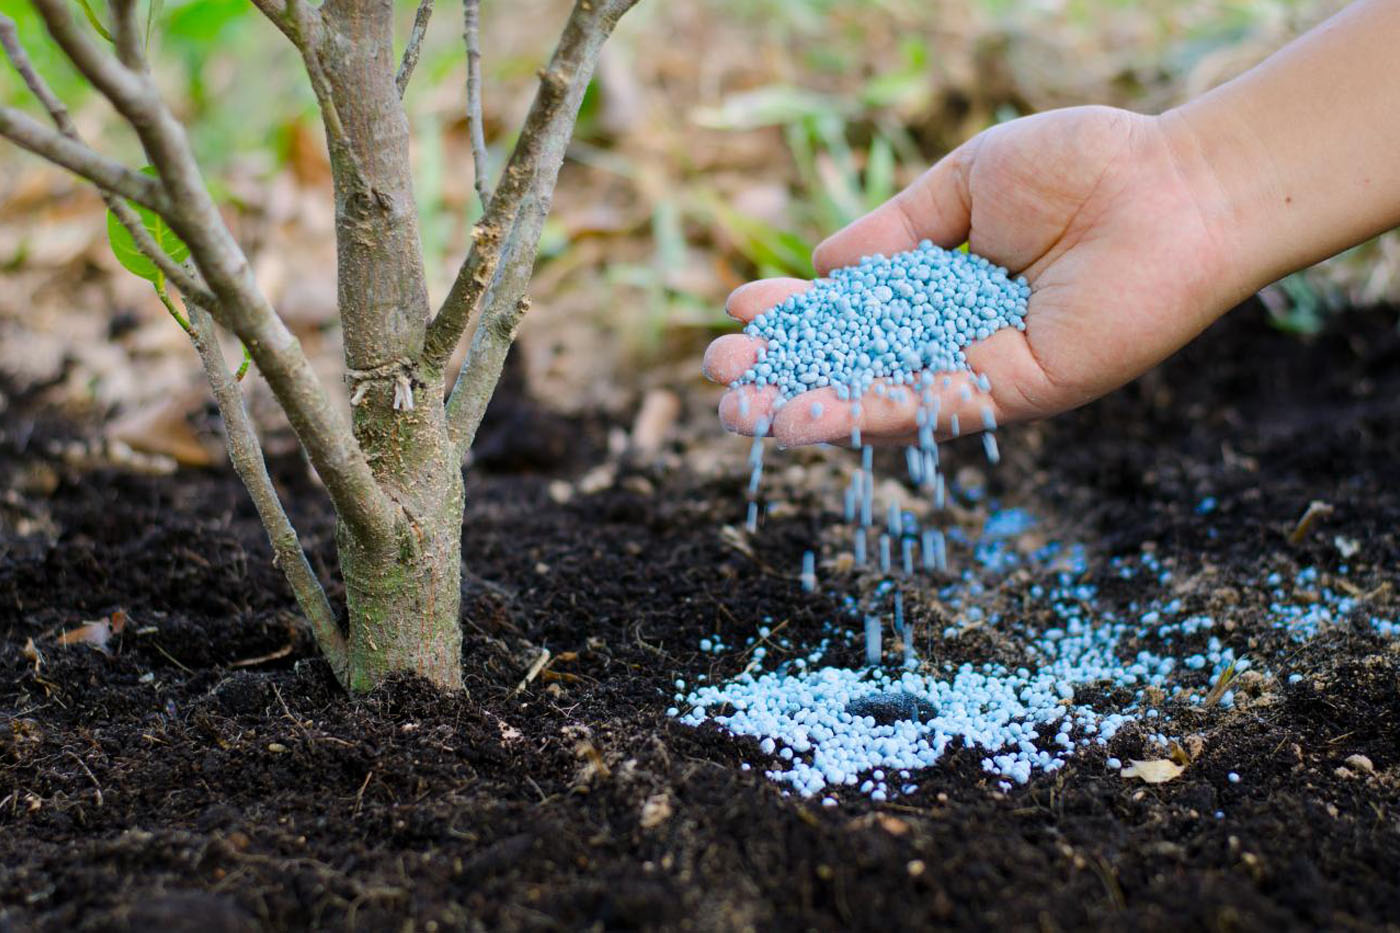
Place the fertilizer around the root zone and water in really well

Watering

We’re having a very dry spring with little rain following a winter with very little snow, and we’ve gone from winter to summer in just a few weeks. As a result, we are now experiencing very dry ground and soil conditions. With a lack of natural moisture, you need to make sure your plants receive adequate water. To get a visual understanding of how much water a tree requires, think of it this way – a tree requires at least the same amount of water as the size of the rootball (when planted) at least 3 times per week. You need to make sure your tree receives at least 5-10 gallons of water directly to its roots at least 3 times per week, throughout the two growing seasons. This will ensure your trees are getting a really good deep root soaking.  Trees require supplementary water at this time of the year to form healthy foliage.
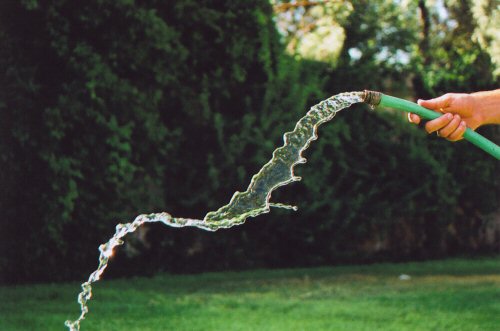
Trees need extra water was they produce new leaves. Water your trees weekly with a garden hose.

Caterpillar Damage

We have been seeing damage on tree leaves this spring. If you are seeing holes in tree foliage, it might be from caterpillars and bugs – they seem to be in abundance this spring. The best solution is to spray with Bug-be-Gone. Make sure you spray on a day with little or no wind and follow the manufactures instructions on the bottle. Please ensure you are wearing your personal protection equipment before commencing with any tree spraying.
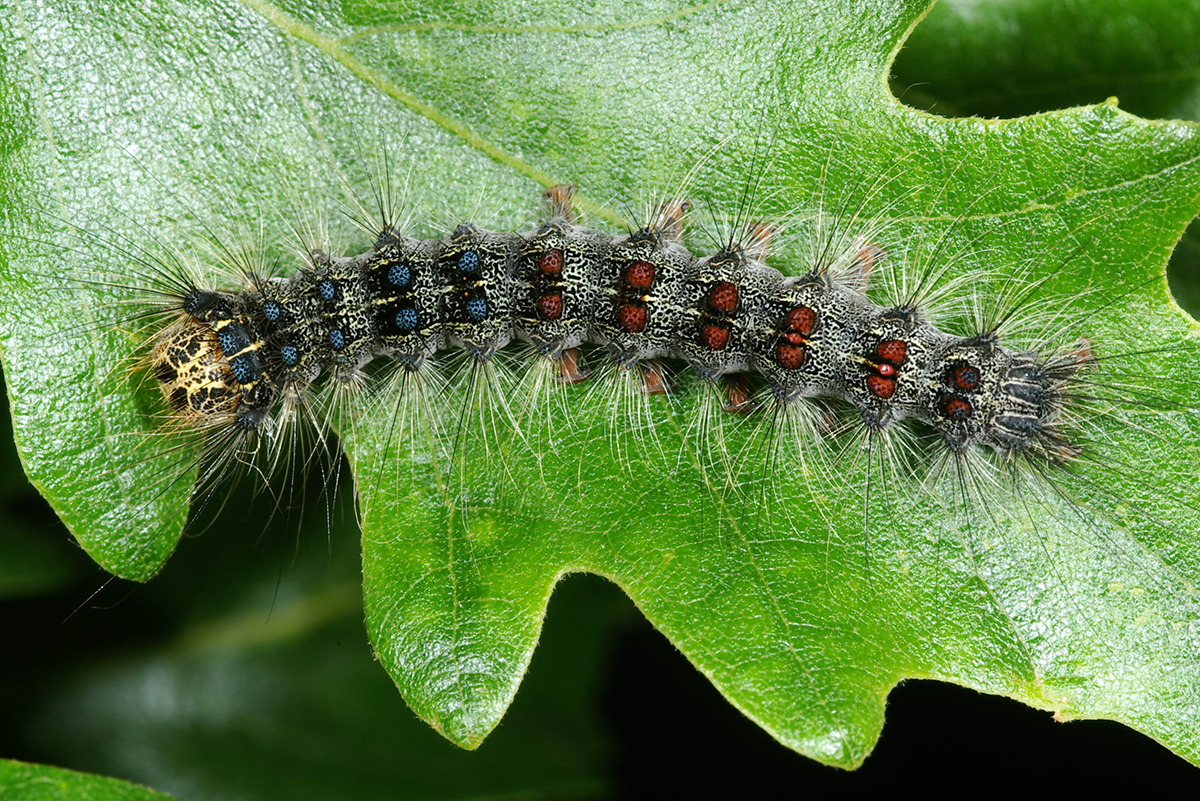
Gypsy Moth Caterpillars can eat through trees foliage leaving unsightly holes and damage

Winter Damage

With last winter’s weather conditions – a few really cold days and then warm days – there has been winter damage on trees. This usually doesn’t kill a tree, however, it can be unsightly for the growing season. You can choose to remove dead branch tips, but as the tree grows over the summer most of the winter damage will be hidden by new growth. Make sure to water your trees well up until the first hard frost of the season. Trees that have enough water in their branches and needles tend to do better through the winter and have less spring damage.

Trees just need a bit of TLC and they will be lovely for years. Trees add value to your property.

Lexi – The Gabby Gardener
Filed Under: Garden Maintenance, Gardening. Life & Learning!, Maintain & Care for Trees, Plant Science, Planting Tips, Sustainable Gardens, Water Wise Tagged With: bugs on trees, Care Trees, Maintain and Care for Trees, water trees

Healthy Roots, Healthy Plants. Watering & Feeding Your Plant Roots.

June 11, 2020 by Lexi Dearborn Leave a Comment

Healthy Trees come from Healthy Roots

The Basics

Reality: We’re Already in Drought Conditions

We’re having a very dry spring with little rain and last winter there was very little snow. We’ve gone from winter to summer in just a few weeks. As a result, we are now experiencing very dry ground and soil conditions.

With a lack of natural moisture, you need to make sure your plants and trees receive adequate water. To get a visual understanding of how much water a tree, shrub, or perennial requires, think of it this way – a plant requires at least the same amount of water as the size of the rootball or container (when planted) at least 3 times per week. For example, if a shrub came in a 3-gallon container, you need to make sure the shrub receives at least 3-gallons of water directly to its roots at least 3 times per week, throughout the growing season. This will ensure your plants are getting a really good deep root soaking, not just a light shower foliage wash.   

Think Carrots

Photo by Monika Grabkowska, Unsplash

I think the best example I can give is carrots. When carrots receive little water and not a deep soaking, they tend to be short, fat, and small. If carrots receive deep watering so that the soil is saturated, they grow longer, wider, and bigger. When plant roots receive only a light sprinkling of water on their foliage, they tend to develop small shallow roots that don’t spread into the ground, whereas plants that receive a deep, long watering directly to their roots tend to develop deep, far-reaching roots that are able to support healthy plant growth. Simply put – the larger the roots of a plant, the greater their ability to take up water and nutrients to support healthy growth.  

Feeding Roots

If you haven’t fed your gardens and trees, now is the time to do so. You can apply an all-purpose granular fertilizer to your garden plants (shrubs, perennials and grasses) and apply a tree and shrub granular fertilizer to your coniferous and evergreen trees. Both fertilizers will need to be watered in well and deeply after feeding by either extending your irrigation timing or watering by hand with a garden hose. Fertilizer can be applied around the plant root zone (side-dress). Perennials need only a couple tablespoons of fertilizer, whereas large trees do best with a couple cups of fertilizer. Follow the manufactures instructions for application rates. Make sure to not allow fertilizer granules to cluster in the crown of the plants, as it may cause burning. If your plants are struggling this spring, apply a water-soluble fertilizer once per week for the next 4 weeks.

Grow Big Roots

We spend way too much time thinking about how pretty the top portion of the plant is with its pretty flowers and attractive leaves, and not enough time thinking about how very, very important the roots are to plant health. If you work to grow healthy plant roots by watering adequately and feeding your plants, your plants will develop roots that can support attractive leaves and pretty flowers. When trees, shrubs and perennials aren’t thriving, it is usually due to a lack of water. Plants can survive without fertilizer; they cannot survive and thrive without water. Plants in poor health from a lack of water tend to be more prone to diseases and pests. It’s nature’s way of culling weak plants.

Healthy Roots, Healthy Trees

Spring Plant Damage

If you are seeing plant damage this spring, I strongly suggest it is from a lack of water at the time of planting, during last summer’s heat, and last fall’s drought. I’m seeing plants that are very hardy in our area completely gone this spring. With last summer’s heat, little winter snow, and even less spring rain, we are already in drought conditions. You cannot depend on an irrigation system to supply enough water to newly installed plants with small, immature root systems – any plants installed in the last 2 growing seasons. Extra water must be applied for these plants to thrive. If you have soaker hose system, please ensure the hose sits directly beside the plants and there is enough soaker hose to reach every plant. If you have a spray head system, please ensure water is not being blocked by taller plants. Flowering gardens with soaker hose require at least 1 hour and 15 minutes of water per session, whereas spray head systems require at least 45 minutes of water per session. This timing applies for the full growing season. If you are in an area with sandy soil, watering is your number one priority. Plants starting to wilt, the leaves of deciduous trees looking soft not ridged, and needles of coniferous trees dropping are sure signs your plants are not receiving adequate amounts water during watering sessions. 

Water the Roots…Not the Leaves  

Many plants have perished because they didn’t get sufficient water at the time of planting and during their first two growing seasons. If you want to grow healthy, strong plants in your yard, you need to promote strong, healthy deep roots systems.

Think Roots First!

Lexi – The Gabby Gardener

Filed Under: Garden Maintenance, Gardening. Life & Learning!, Plant Science, Planting Tips, Spring Gardens, Sustainable Gardens, Water Wise Tagged With: Feeding plants, Growing plants, Healthy Plants, Healthy roots, Plant Health, Water instructions, Watering plants

Controlling and Eliminating Ants, Naturally

May 25, 2020 by Lexi Dearborn Leave a Comment

The Basics.

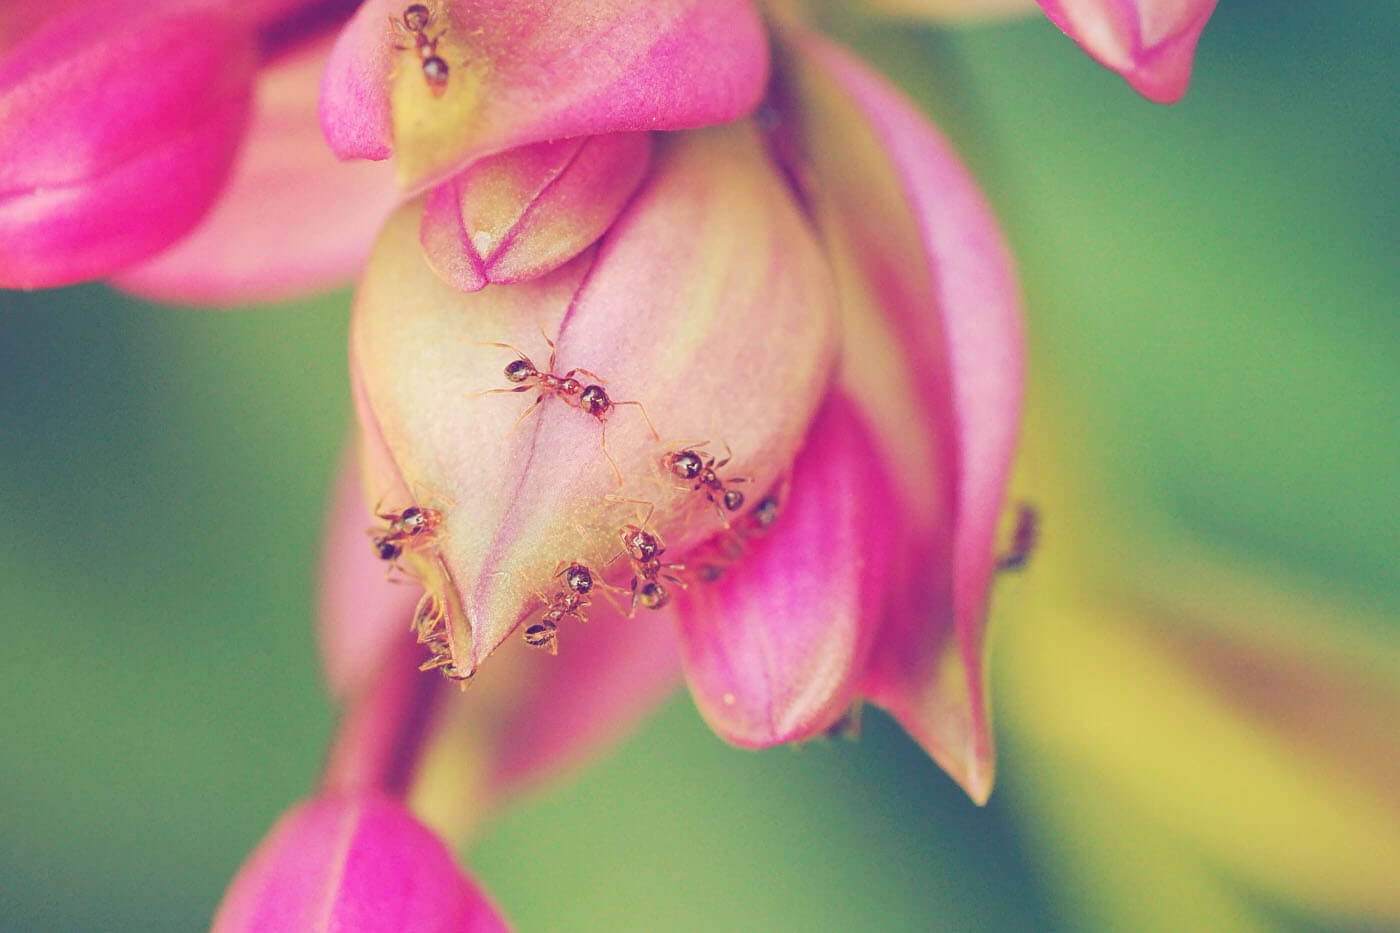
Ants on Plants.
Photograph by Jess Bailey on Unsplash

Over the past week as the weather has been warming, I noticed a lot of ants both inside and outside my house. As much as I love spring, I don’t love the ants that come with it. Ants are nasty little critters, especially ants that decide to hangout in my house. Unfortunately, many homes in our area suffer the same fate. 

Last week I was asked for advice on how to naturally get rid of ants outdoors. Many of my Gabby followers have young children or pets in their homes, so controlling and eliminating ants naturally is the only option.

My Best Suggestions for Controlling Ants Outdoors

My Number One Solution is Hot Water

My grandmother and my mother before me did this so it I know it works. This ant control method has been passed down from generation to generation of Anderson women!

If you have an ant colony in your yard, you can simply boil a kettle of hot water, take it outside very carefully, and pour it directly onto the ant colony. You might need to do this a few times over a couple of days to get rid of all the ants. If the colony is really big (I’ve had a few of those), you might need to open up the colony with a shovel and then add boiling water which kills ants on contact.

Peppermint Essential Oil

Peppermint is a natural insect repellent that can be very effective in repelling ants. Mix 10 to 20 drops of peppermint essential oil with 2 cups of cool water in a spray bottle. Shake well. Spray this solution on sidewalks and driveway cracks and allow the spray to dry. You may need to repeat the peppermint spray method after it rains. Another great solution for ant colonies is a few drops of peppermint essential oil directly onto an ant hill and ants will hit the road. Just a note: peppermint oil and eyes don’t mix. If you get peppermint oil on your hands, make sure to wash it off thoroughly before touching your face. 

Ground Cinnamon

Ground cinnamon is a great solution if you can find the ant path or opening to an ant colony. Sprinkle the ground cinnamon directly onto the ant path or colony, and when the ants inhale the cinnamon they suffocate and die. Bye, bye ants!

Vinegar, Dish Soap, Epsom Salts, Vegetable Oil and Water

In a spray bottle, mix 1/3 cup of white (cheap) vinegar, a squirt of dish soap, 3 tablespoons of epsom salts, and a couple tablespoons of vegetable oil and fill the rest with water. Shake really well. This solution can be sprayed on areas with a high concentration of ants or poured directly onto the ant colony. The soap and oil enter the ant’s exoskeleton system and suffocate them, rendering them dead.  By the way, if you’re still reading, this vinegar, dish soap, epsom salts, oil and water mix is great way to naturally get rid of nasty weeds in your lawn or gardens. I’ve dumped this solution onto a couple really big thistles that were growing in my back gardens and it killed them and they haven’t come back. Now you need to know this solution will burn plants and grass. If you use it as a weed burner, it will burn any plants or grass (turf) it touches, but it works!

Say goodbye to ants naturally!

Lexi – The Gabby Gardener

Filed Under: Controlling Ants Naturally, Eco-friendly, Garden Maintenance, Gardening. Life & Learning!

What to Plant with a Mature Lilac?

May 10, 2020 by Lexi Dearborn Leave a Comment

Brilliant Ideas! Companion Planting!

Are you wondering what you can plant with mature lilac? You’ll be surprised to know there a number of amazing companion plants that work really well in the same garden as a mature lilac.

From a Facebook enquire – Pamela asked “Can I plant peonies in the same soil as a big lilac plot? I tried hydrangea in the same spot, and they didn’t do well, little foliage and they didn’t flower.”

The answer is yes, you can plant peonies in the same plot as the big lilac and yes, you can grow hydrangea as well.

Here’s what you need to know!

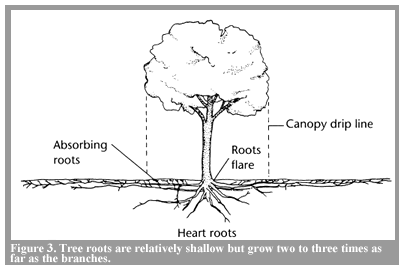
The roots of a mature lilac extend out past the dripline (ends of the branches at the widest point of the shrub canopy) by at least 1 ½ to 2 times. It is important to understand the size of the lilac root zone because the soil in this area will be dry. Simply put, the mature lilac roots take most of the water in this area, making soil conditions really dry. If you are going to plant in the root zone of a lilac, the only solution is to make sure you provide extra water to newly installed plants for at least the first 2 growing seasons. This might mean you need to hand water newly planted shrubs and perennials at least 3 times a week for the first growing season, and twice a week in the second growing season, and in times of really hot, dry weather, water daily.

Roots extend out at least 1 1/2 to 2 times the size of the branches.

Here’s what I did!

Like Pamela, I have a mature lilac in my front yard. I’ve planted Annabelle hydrangea next to the lilac because I wanted summer blooms and I really like hydrangeas. It took about 3 years for the Annabelle hydrangea to really get their roots established. For the first couple of growing seasons, I too only had small foliage and no blooms, but I kept giving the hydrangeas extra water through the growing season and in the third summer I was rewarded with blooms. Just a note, Annabelle hydrangea do need a bit of fertilizer in the spring but not much. Overfeeding will simply produce weak stems, excessive leafy growth and reduces flowering. You only need about 4 tablespoons per 4 square feet. Hydrangea naturally require a lot of water, especially in sunny locations so you may find you need to water daily.

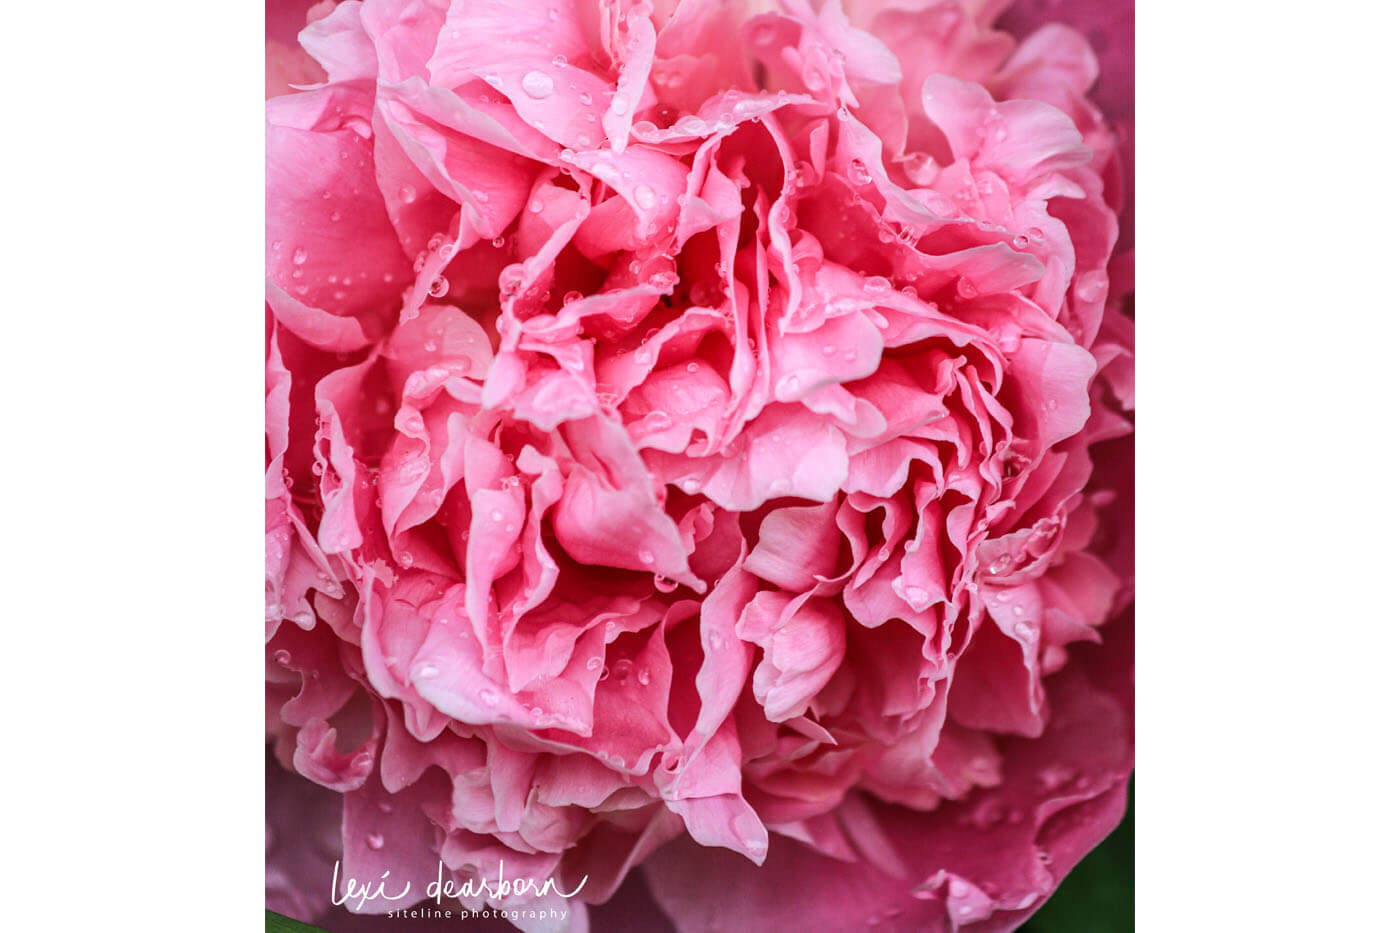
Yes, you can plant peony in the lilac plot. I have planted pretty pink lacey peony in the same garden as my mature lilac. I did have to cut through a few of the fine lilac roots to plant the peony, however they have worked well.  Peony tend not to be too fussy. They like full sun, shelter from strong winds, and they don’t like to be planted to deeply. When planting container grown peony, make sure the soil surface in the pot is at grade when the new plant is in the ground. If you bury the roots too deeply, you will get tons of foliage but no blooms.

Pink peony after the rain

Mature lilac garden design!

From a design perspective, planting peony with lilac means lots of blooms in late spring, but none in summer or fall. If you have the space in your lilac garden and want summer blooms, here are my suggestions for companion perennials that really work.    

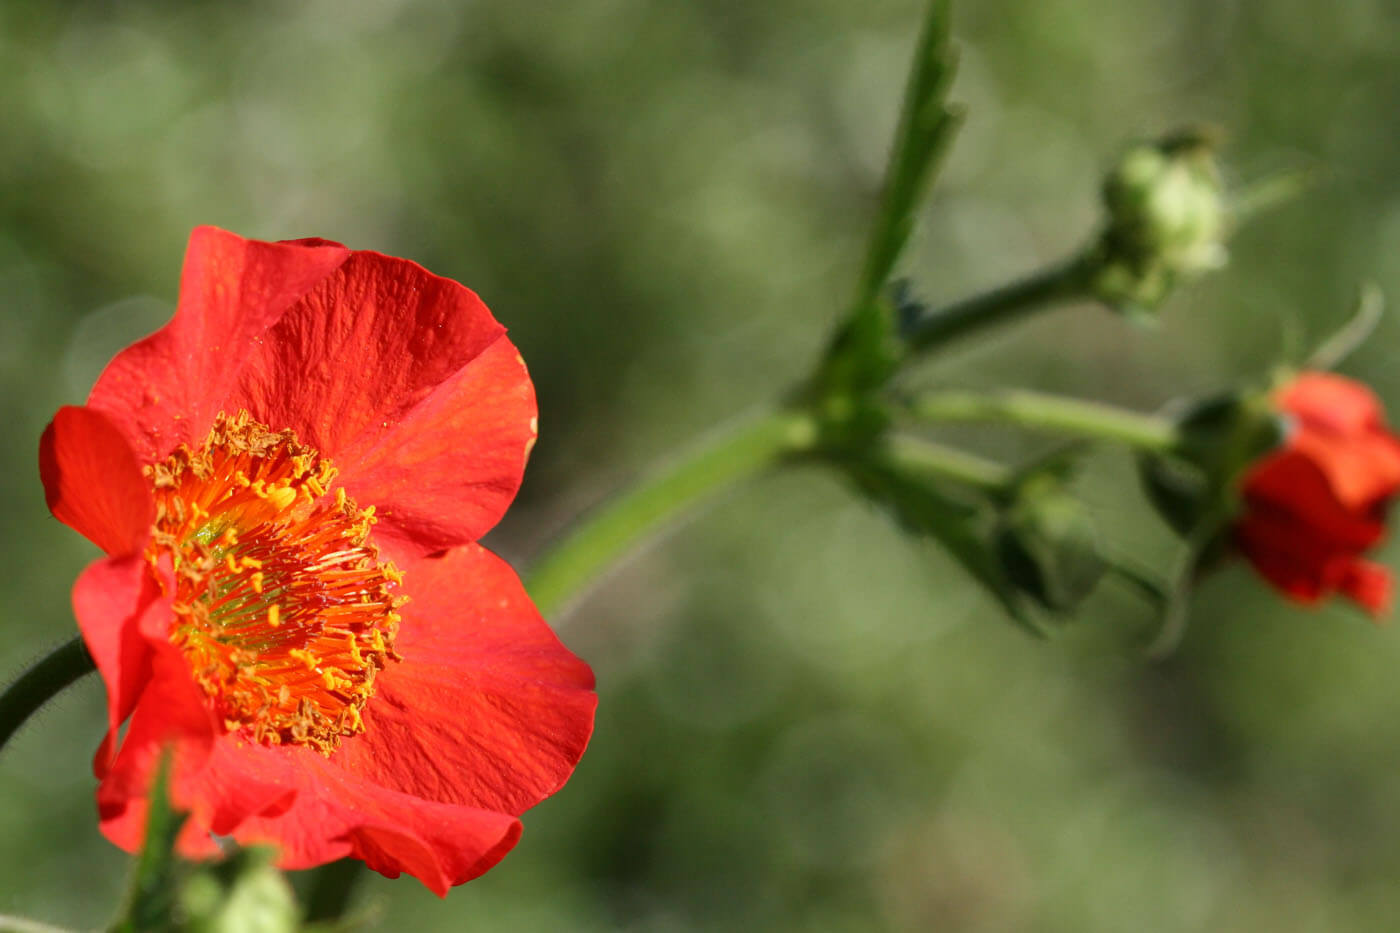
Koi Avens (Geum)
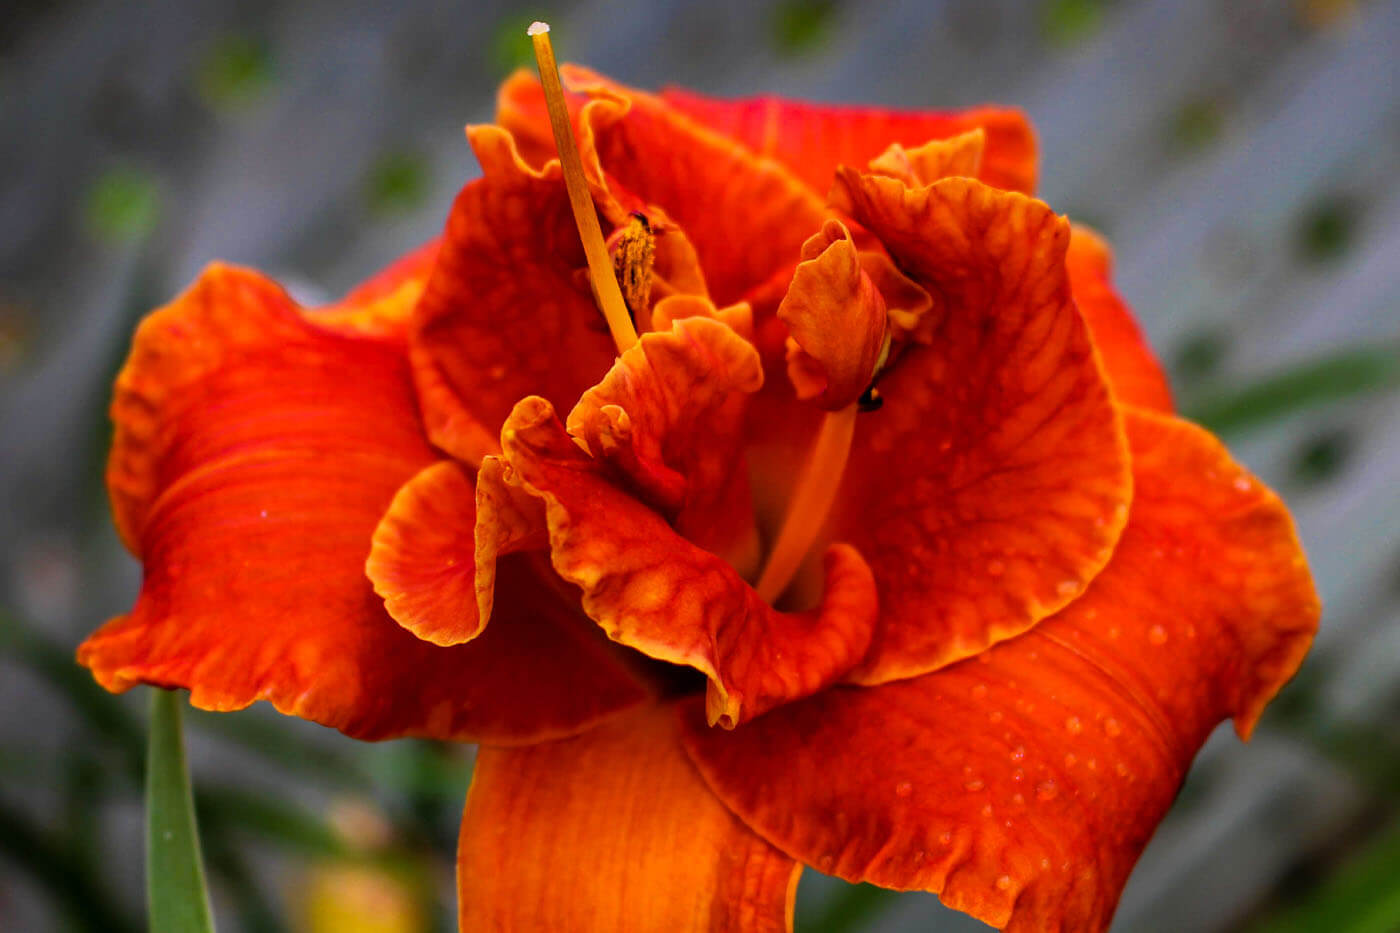
Moses Fire Daylily
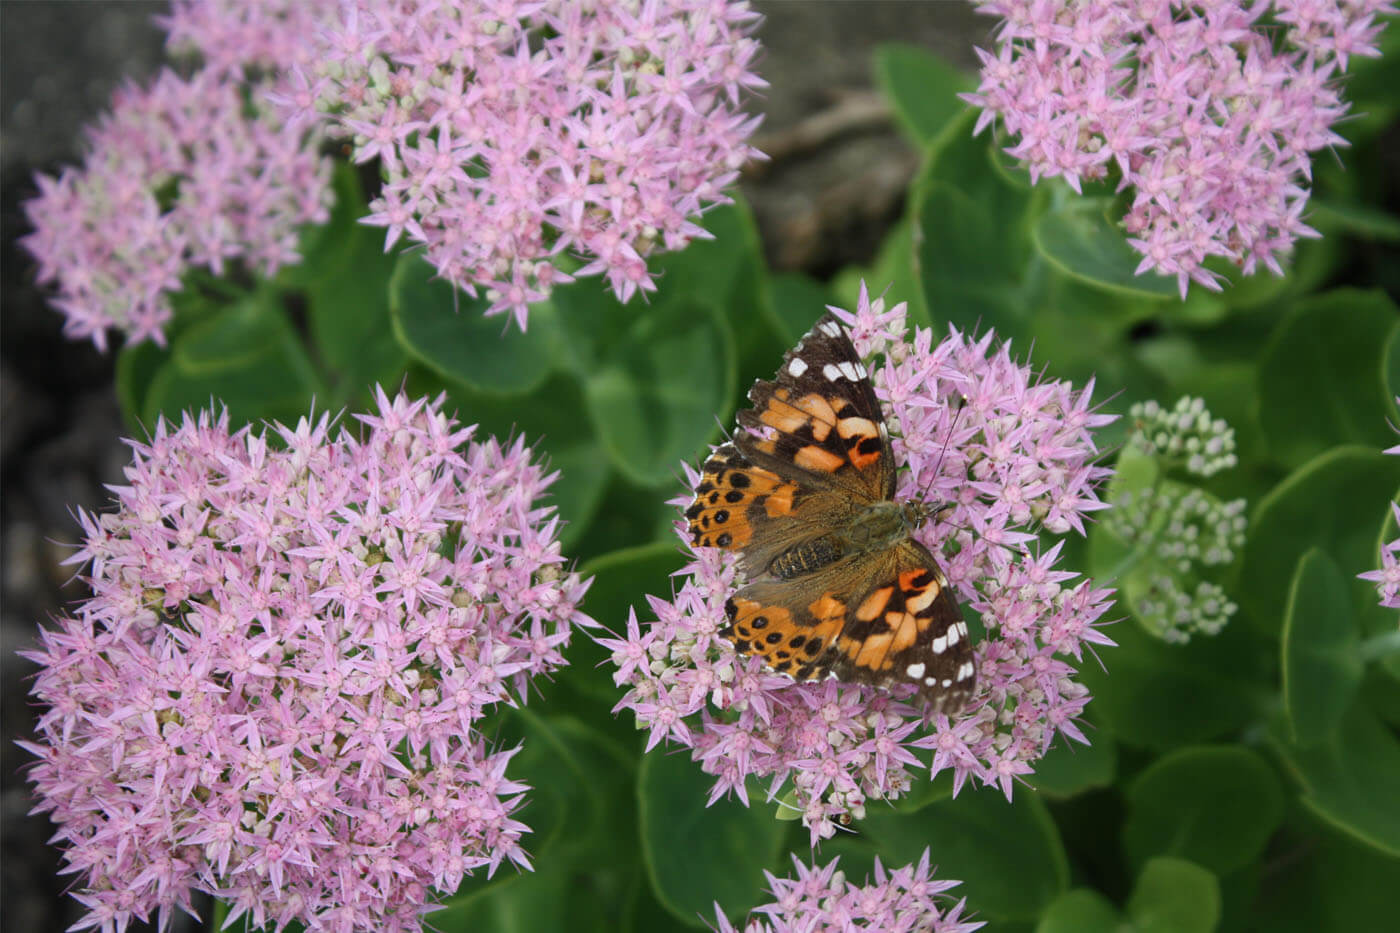
Butterflies love sedum

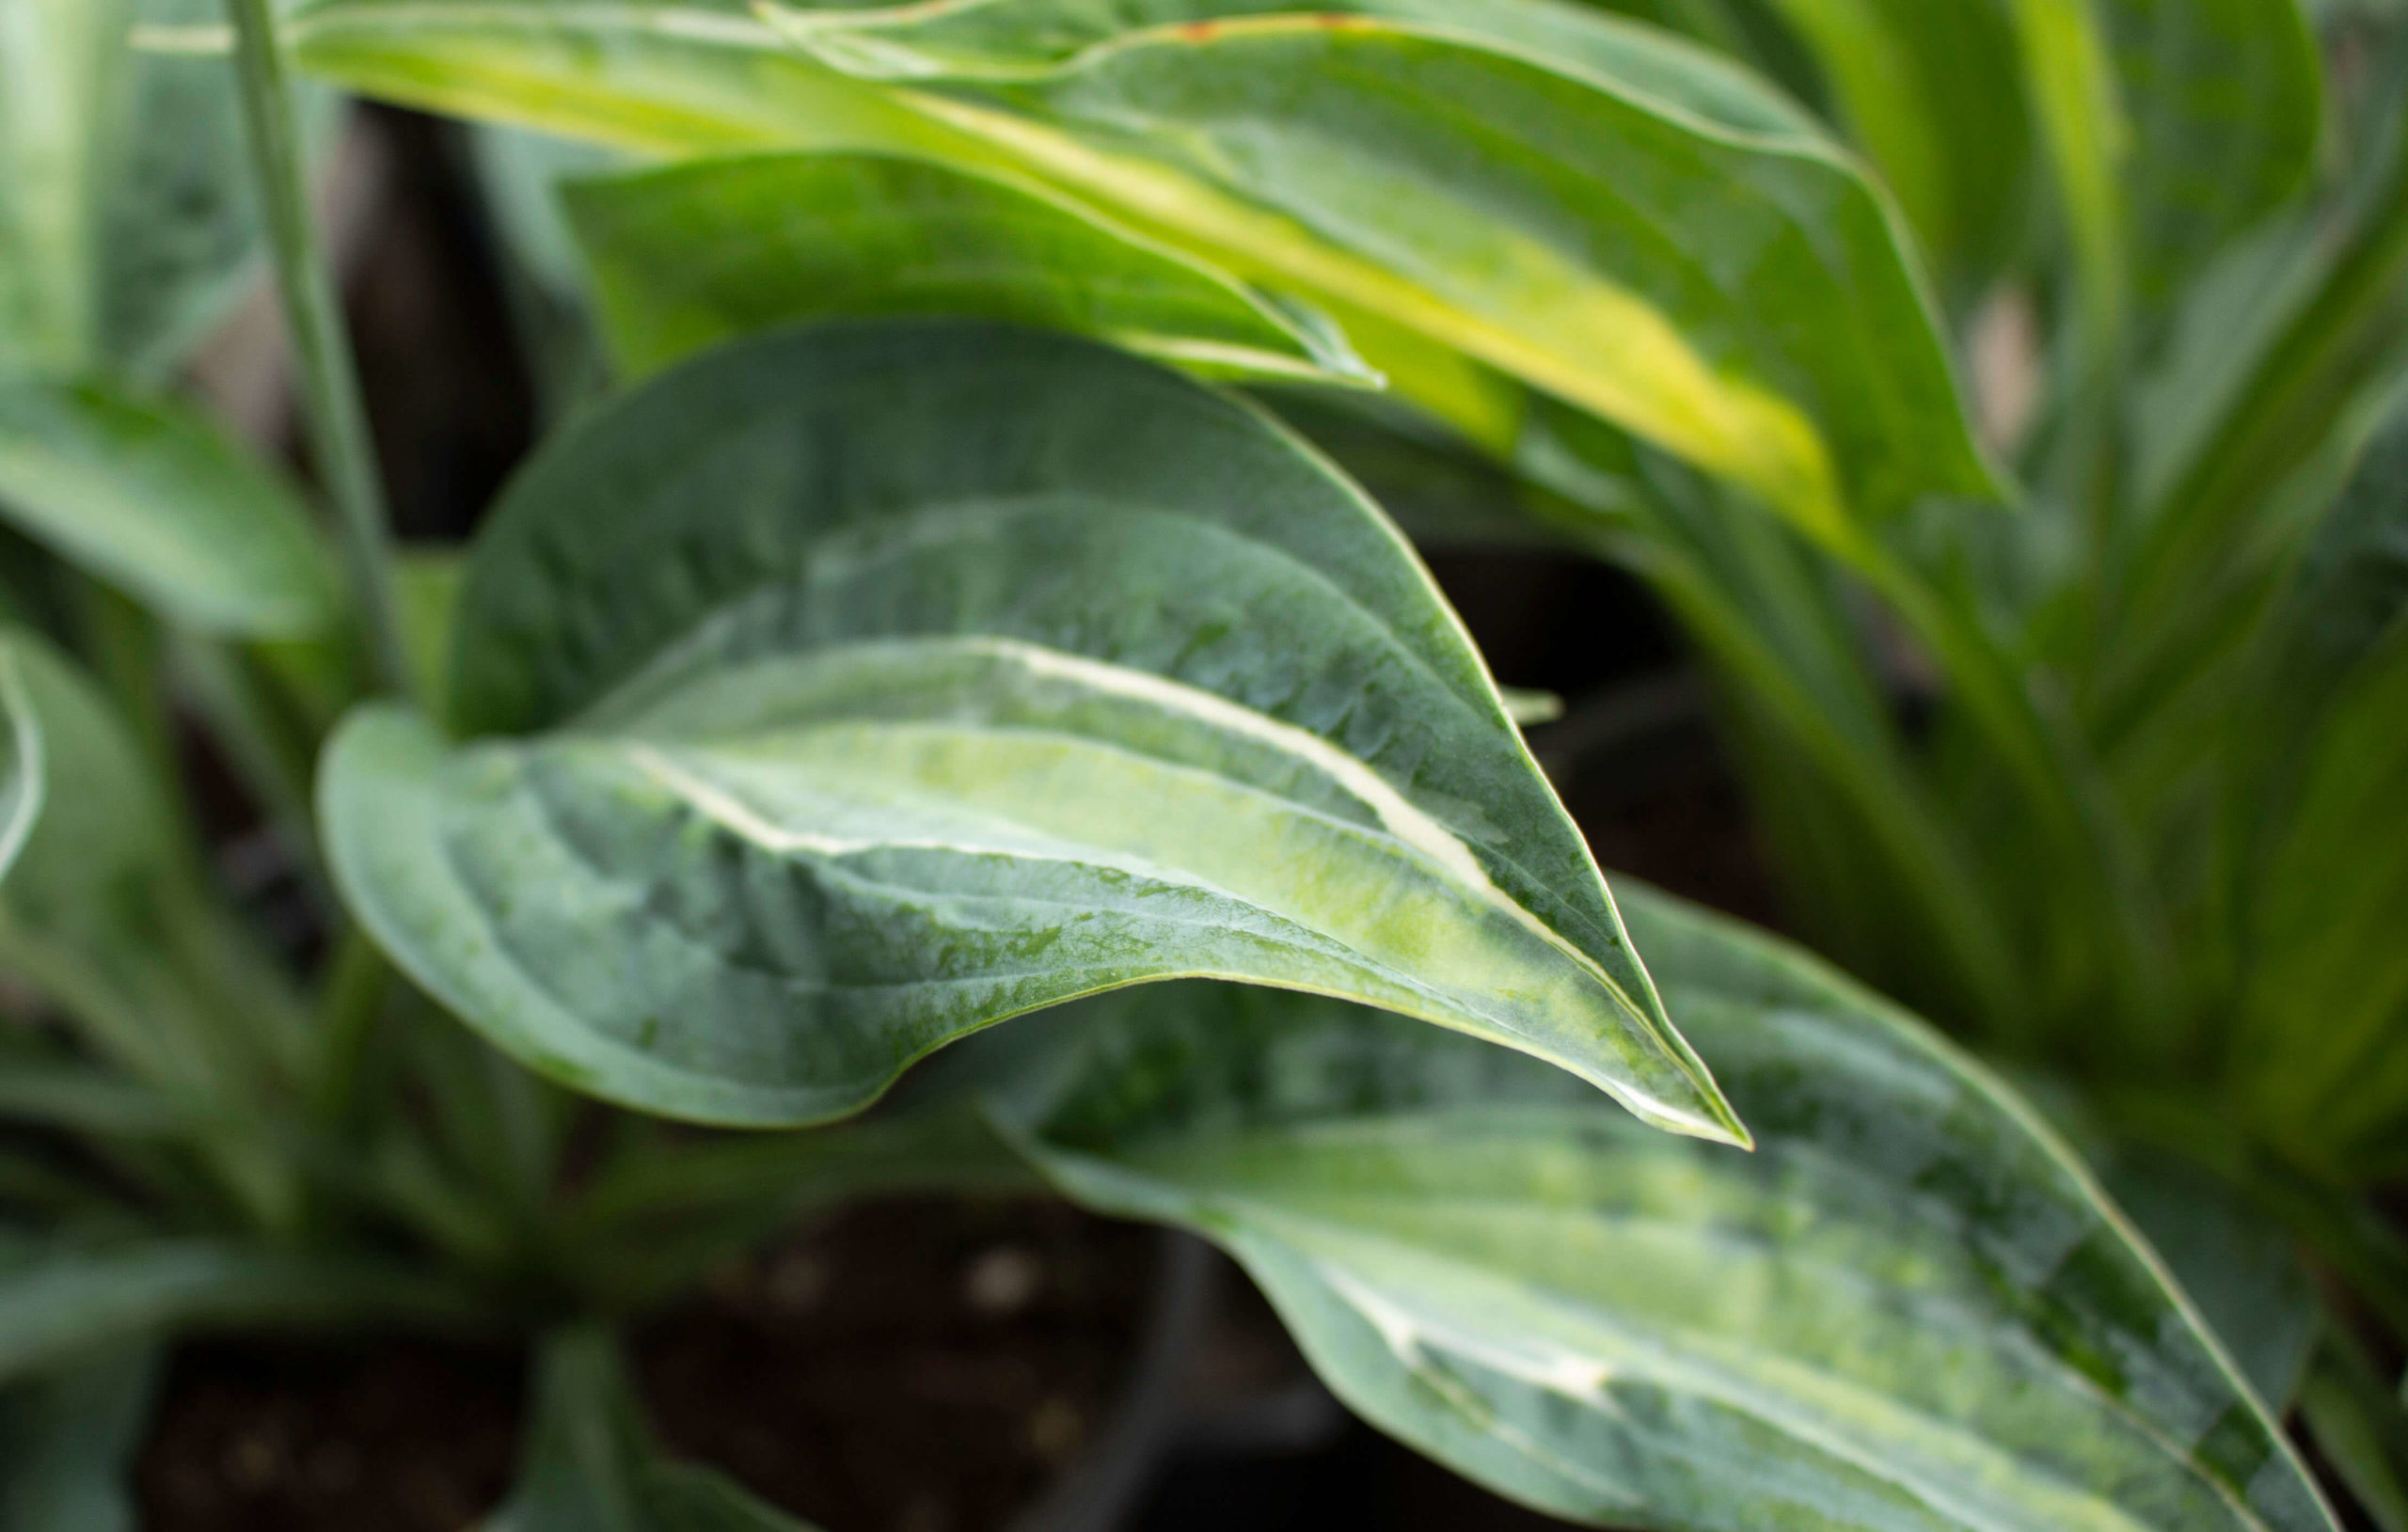
Kiwi Gull Monty Hosta
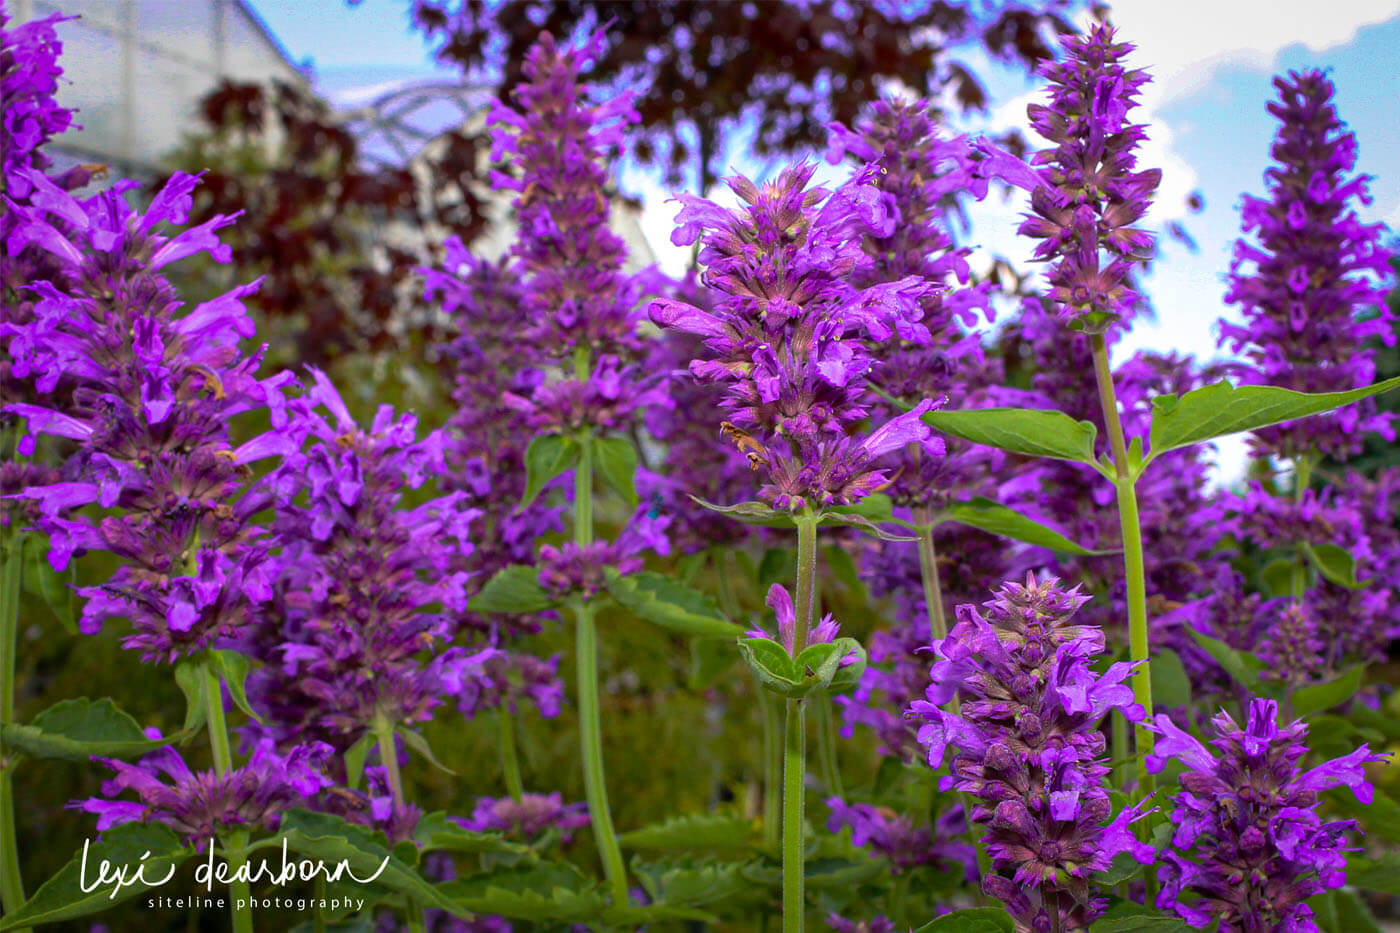
Blue Boa Hyssop

There are numerous flowering shrubs and perennials that work really well as companions with a mature lilac. Most of the above come in a wide range of colours, textures, and heights. Try a few with your mature lilac.

Happy Gardening

Lexi – The Gabby Gardener

Filed Under: Butterflies, Colour in the Garden, Garden Maintenance, Gardening. Life & Learning!, Mature Lilac Planting, Plant Science, Sustainable Gardens, Water Wise Tagged With: Colour in the Garden, Companion planting, Easy Gardens, Easy perennials, Mature lilac planting

Plants That Deter Rodents!

May 8, 2020 by Lexi Dearborn Leave a Comment

Hello Gardeners.  Question of the Week!

I had a question from Alyssa this week regarding what to plant in order to deter rodents from her garden, and do well in clay soil.  When it comes to rodents, plants with strong or a particular nasty smell tend to be good natural repellents.

Photo by Nick Fewing Unsplash

My Best Suggestions for Perennials

Pincushion (Euphorbia)

Catmint (Nepeta)

Perennial Ornamental Onion (Allium)

Garden Sage (Salvia)

Beebalm (Monarda)

Giant Hyssop (Agastache)

Wormwood (Artemisia)

Lilly-of-the-Valley (Convallaria)

Each of these perennials comes in a variety of colours, textures, and heights. 

My Best Suggestions for Bulbs

Daffodils

Grape Hyacinth

Wood Squill

Allium

Gladiola

Snowdrops

Garlic

Fritillaria

My Best Suggestions for Annuals

Lavender (Lavandula) short-lived perennial

Snapdragon

Marigold

Nicotiana

Good Luck!

You-dirty-rat!

Lexi – The Gabby Gardener

Filed Under: Deter Rodents in Clay Soil, Eco-friendly, Garden Colour, Garden Maintenance, Gardening. Life & Learning!, Planting Tips, Sustainable Gardens, Wildlife Tagged With: Annuals, Bulbs, Clay Soil, Deter Rodents, Perennials \

Six essential spring flowering garden tips

April 13, 2020 by Lexi Dearborn Leave a Comment

The Basics

April brings out the eager gardener in everyone. We want to get out there and cutback perennials, prune shrubs and putter about in the sunshine. Here are a few essential tips for opening your flowering gardens this spring.

Tip one: Understand your soil

Don’t rush spring. It’s important to wait until the soil in your garden is warm and dry. Working a garden that is still cold and wet can lead to soil compaction. That’s bad! Walking on cold, wet soil crushes soil pore spaces – those are little pockets of air between soil particles. Crushed soil pore spaces can lead to soil compaction. When it rains or you water, it will run off your garden instead of percolating into the soil.  

Tip two: Clean out winter debris

Ideally, just as spring bulbs start to pop up it is time to clean debris from your flowering gardens. This includes removing matted down leaves, last year’s perennial stems and ornamental grass blades.  Remember, lots of beneficial insects, including tiny native bees and predators, spend the winter hunkered down in hollow plant stems either as adults or pupae. Cutting down dead plant stems too early in the spring can disturb them before they have had a chance to emerge.  

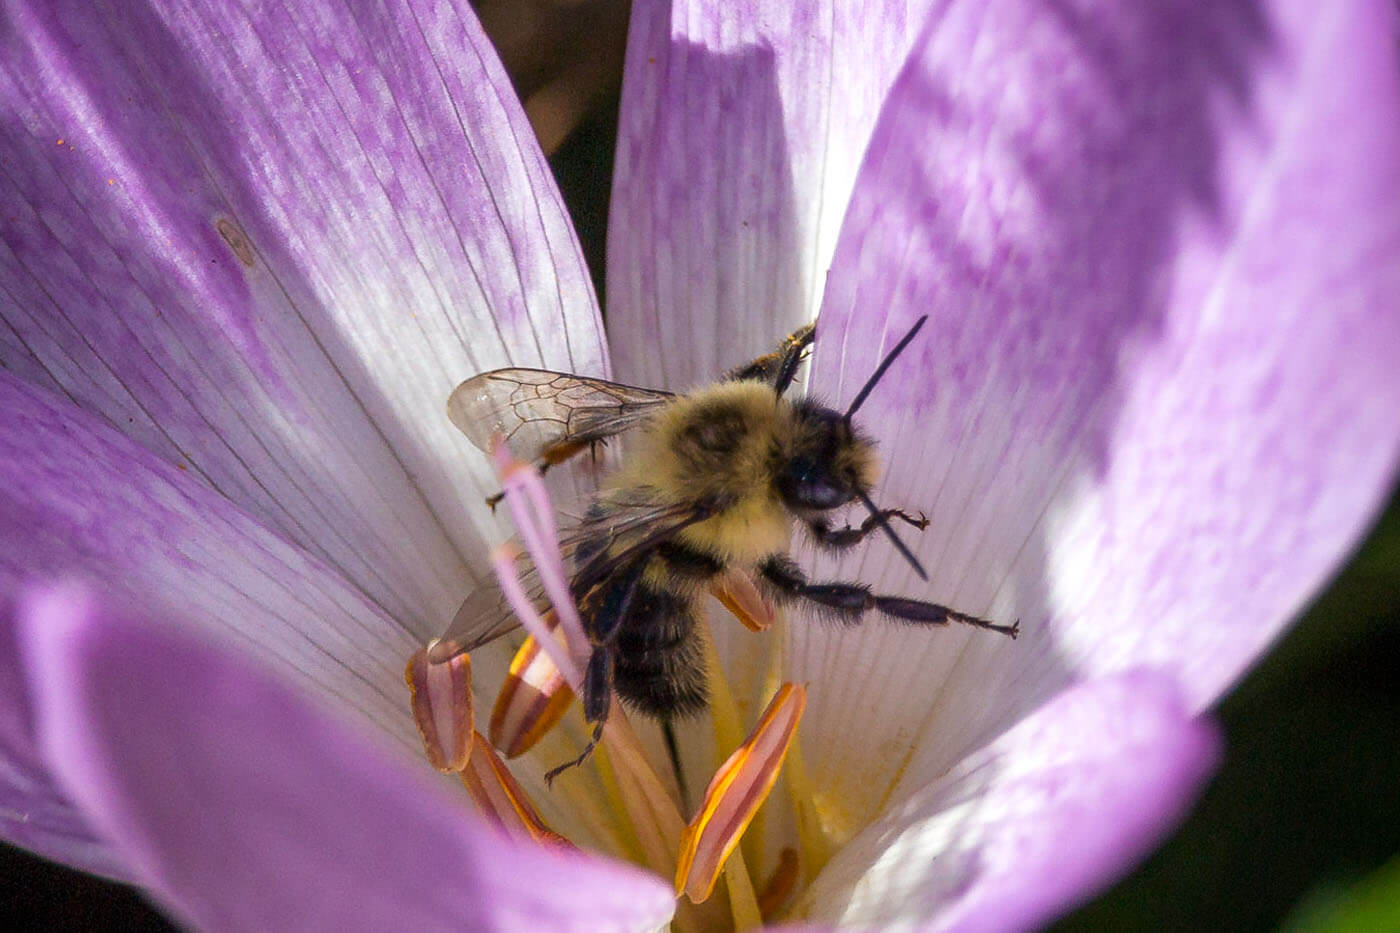
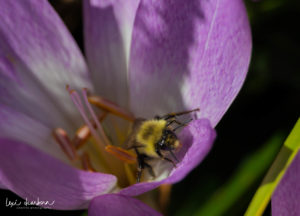
Spring bee on spring crocus

I use my hand to rake matted leaves (I wear a glove) from my gardens instead of using a formal garden rake. By using my hand to rake debris, I’m able to leave as much garden mulch intact as possible. This in turn saves me money in mulch replacement. 

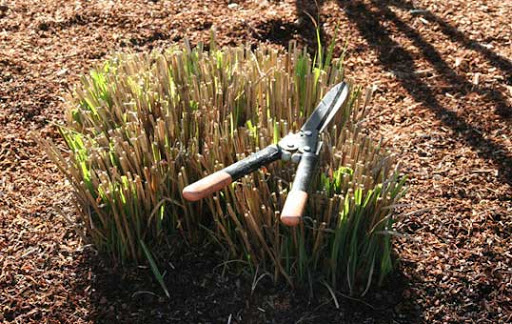
Cut back perennial stems using sharp pruners; while ornamental grasses blades can be cut back using sharp hedge clippers. Neither needs cutting right back to the ground to the crown of the plant. Cut back perennials to about three inches from the ground. Ornamental grasses at a height of six inches is more than adequate.  

Properly cutback perennials
Properly cutback ornamental grasses

Tip three: Tidy up shrubs

Most flowering shrubs require a bit of a ‘tidy up’ rather than a ‘cut it all down’ prune in spring. If your shrubs have been in the ground less then three years, spring clean-up is a breeze. Here’s what you need to do:

  1. Remove any broken branches or stems with sharp pruners.  
  2. Remove any dead (last season’s) blooms.
  3. Remember, if it flowers in the spring (April, May or June) now is not the time to prune. Prune after they bloom. Spring blooming shrubs set flower buds in the fall. A hard spring pruning can remove or damage new flowers. Here is a short list of shrubs that flower in spring.
    • Forsythia
    • Lilac
    • Ninebark
    • Serviceberry
    • Deutzia
    • Weigela
  4. Shrubs that bloom in the summer (July, August and September) are safe to prune now, as they set flower buds in the spring. Here’s a short list of summer blooming shrubs.
    • Hydrangea
    • Spirea
    • Potentilla
    • Rose of Sharon
    • Summersweet

If you’re not sure of what or how to tidy your shrubs, shoot me an email.

Tip four: Weed, weed and weed

Garden weeds that appear in the spring are easy to remove because they have shallow roots. You can simply pull small weeds by hand or use an old table fork (this works really well) to get weeds out. Very clever! Weeds can be cultivated using a sharp hoe to slice the undesired plant just below the soil line so they shrivel up and die. For larger more developed weeds, you will need to get the shovel to dig out and attack weeds at their roots. Note: For smaller weed removal, garden soil should be a bit damp for best results. However, for weed removal using a garden hoe or shovel, it best to wait until soil is warm and gardens are dry. “Weeds are nature’s graffiti.” ~ J.L.W. Brooks

Tip five: Feed your plants and water well

Trees, shrubs, perennials and grasses need fuel to produce luxurious blooms, sturdy stems and vigorous leaves. Late May is the perfect time to apply a well-balanced granular fertilizer (15-15-15) to plants.  There is no need to purchase fertilizer for every type of plant in your yard. A balanced fertilizer is all you need. Fertilizer can be applied around the plant root zone (side-dress) with perennials, which need only a couple tablespoons of feed. Large, mature trees do best with between two to three cups of fertilizer.  Make sure to not allow fertilizer granules to cluster in the crown of the plants, as it may cause burning. Water in fertilizer well after feeding.   

Tip six: Mulch has a job

Mulching helps retain soil moisture by providing a protective layer between soil, sun and drying winds. It keeps soil cool, helps prevent crusting and leaching and inhibits the growth of weed seeds. Natural organic mulches add humus, as soil organisms like earthworms break it down. This organic waste (soil aggregates) helps build soil structure. So mulching is a good thing. And gives your flowering gardens a professional, finished look.

In the spring, it’s important to move (or fluff) your mulch. I know right? What happens is mulch compresses with the weight of snow leaving a crust on the top. Moving mulch around in the spring, breaks up this crest layer and allows water to flow through to the soil. If mulch is not uncrested, water will simply run off leaving plants thirsty. Once you have moved the mulch around, you might find spots with little or no mulch. Now is the time to top up mulch to a depth of two to three inches in all garden areas.

Enjoy the lovely spring weather by getting out in your gardens. Landscapes for Living!

Lexi Dearborn

Dearborn Designs & Associates | Advanced Master Gardener | Certified Horticulturist

Filed Under: Eco-friendly, Garden Maintenance, Gardening. Life & Learning!, Plant Science, Planting Tips, Spring Gardens, Wildlife Tagged With: Spring Garden Tips

Plant Science! Why do Plants Wilt in your Garden?

March 25, 2020 by Lexi Dearborn Leave a Comment

Water, Water, Water!

There are a few reasons why plants wilt however the most common reason outdoor plants wilt is from a lack of water.

Turgor Pressure in Plants

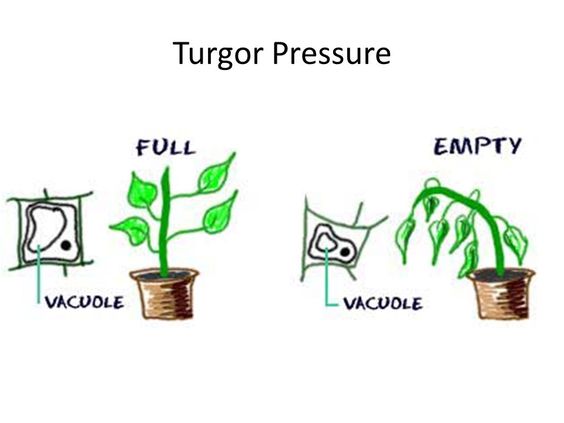
In simple terms, plants wilt when there isn’t enough water in their leaves and stems to support the plant. Turgor pressure (I’m getting my science on) in leaves and stems is low so they start to look droopy.

Remember Grade 10 biology?  When the teacher talked about osmosis?  The movement of water across a membrane from an area of high pressure to an area of low pressure. Come on, you remember this!

When there isn’t enough water in the soil surrounding plant roots, roots can’t take up enough water to keep turgor pressure strong in leaves and stems, so plants start to droop. They loss their turgor! After a good rain (or watering) plants will start to perk up again as roots take up water via osmosis to leaves and stems, therefore increasing turgor pressure in their cells. That’s plant science!

Sketch from Ms. Arnwine – Weebly

Why is it importance to keep plants from wilting, you ask? 

One of the main reasons is cell damage.  When plants lack water and wilt, cells in the plant get damaged. Over time from a lack of rain (or you forget to water) cell damage can occur and you will see dark spots on leaves and stems or dead leaves on your plants. If left for too long without water, plants can die.

With our summers being so hot and dry, selecting the right plant for the right location becomes very important. 

Great List of Perennials for Hot, Dry Locations

Plants with tuberous roots have the ability to store water for times of drought. Daylilies are a great example of plants with tuberous roots and therefore, are a great choice for hot, dry locations. Plants with tuberous or bulb roots!

Iris

Peony (Paeonia)

Stonecrop (Sedum)

Crocosmia

If you don’t like to water, you can select plants with small leaves and pretty blooms.  Try a few of these! 

Yarrow (Achillea)

Butterfly Weed (Asclepias)

Tickseed (Coreopsis)

Globe Thistle (Echinops)

Lenton Rose (Helleborus)

Catmint (Nepeta)

Meadow Sage (Salvia)

Purple Coneflower (Echinacea purpurea)

Keep your plants happy by watering before they wilt. Get outside, have fun in your gardens.

Lexi – The Gabby Gardener
Filed Under: Garden Maintenance, Gardening. Life & Learning!, Plant Science, Plant Wilt, Planting Tips, Water Wise

Spring has Sprung

May 1, 2019 by Lexi Dearborn 2 Comments

I love spring. It’s so exciting…the snow is melting after a long winter, the birds are returning and singing their wonderful songs, and my inner gardener is itching to get out there and play.

As an avid gardener, I feel the draw. I see the winter debris, and I just want to get it all cleaned up.  I also know I have to be patient.

Did you know soil has air pockets? Yes it does!  When we walk in the garden too early, these air pockets become damaged. Without getting into a whole science lesson here, soil air pockets allow plant roots to breathe and allow water to drain away from the plant roots during times of heavy rains or melting snow.  When roots can’t breathe due to soil compaction (from my big boots), plant roots can fail. Hmmmm… I must be patient.

Grandmother’s advice. The first full moon in June. Yep, my grandmother always said, ‘We can get frost until the first full moon in June’ and she was right.  In our area the weather can be all over the place.  Snow one day, sun the next, followed by a few days of rain, then snow again.  If you’re looking to plant out in April to get some colour, pansies and spring bulbs are the way to go.

Each spring like many gardeners, I start my spring ‘crawl’ through the garden centres hunting the latest and greatest finds. And every April I see folks arriving at the garden centre on the first sunny day looking for plants to install.  April isn’t the right time of year to be looking to plant out. The daytime temperatures maybe be warm however the nighttime temperatures can freeze tender new plants.

Bee Power!

Last May I really wanted to get ahead of my spring design rush and get a bit of work completed in my home gardens. I selected a few new lovely shrubs I thought would look great in my front flowerbeds.  Not one of my best ideas.  I planted those poor shrubs out way too early and it took them much longer to get ‘their feet’ under them than it should have.  If I had been patient and planted closer to the May long weekend when it was much warmer, my pretty shrubs would have been much more successful and I wouldn’t be replacing some of them this spring.  Patience. Just a bit of patience.

Getting out into gardens too early to complete a good spring cleaning isn’t the best decision. Some of the bugs and bees who over-wintered in my garden debris are still dormant, waiting for warmer temperatures to make their appearance.  Cleaning out my gardens too early takes away the protective layer of dried leaves and stems, therefore exposing these garden helpers to the elements.  Patience is the key to giving this year’s pollinators and predators a fighting chance.

Gardening is the quiet act of patience. A ‘journey’, not a ‘destination’. And like life, gardens ebb and weave, change season to season and month to month, having their own unique personalities.


Filed Under: Eco-friendly, Garden Maintenance, Landscape Design, Planting Tips, Sustainable Gardens

Footer

Navigation

  • Home
  • Company
  • Design Process
  • Gallery
  • Contact
  • Blog

Areas of Expertise

Award Winning Landscape Design:
Entrances | Gardens | Backyards | Night Lighting | Pools | Water Features | Water Falls | Bubble Rocks | Patios | Landscaping | Retaining Walls | Decks | Outdoor Kitchens | Walkways | Hardscapes | Gazebos | Cabanas | Pergolas | Arbors | Sheds | Spas | Flagstone Walkways | Pool Decks | Terraces | Landscape Design | Plants | Installation | Driveways | Outdoor | Structures | Landscape Lighting Landscape Construction | Trees

Stay Connected

Facebook Twitter LinkedIn
Landscape Ontario Awards of Excellence
Landscape Ontario Green for Life
Landscape Industry Certified Designer

Contact

Telephone: 705.623.2970

E-mail: info@dearborndesigns.com

Copyright © 2025 Dearborn Designs & Associates · All Rights Reserved · By Definity Creative