Brilliant Ideas! Steal this One!
Growing edibles like veggies, flowers, and herbs is gaining popularity right now. Why? Because it’s easy! Edibles you grow yourself are healthier, taste better, and in many cases are cheaper than buying them at the store.
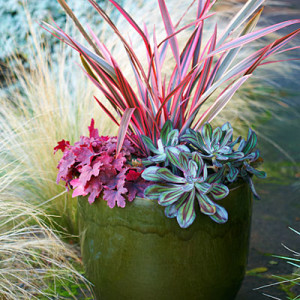
Not all of us have the space or the desire to grow a large vegetable garden. Container gardening means anyone can grow their own crops, even in a small space.
What You’ll Need!
You just need the right growing conditions. All vegetables, edible flowers, and herbs need at least 6+ hours of direct sun every day for the best results. You will need a good soil mix – I like Fafard’s Urban Garden Container Mix (Sphagnum peat moss, black earth (humus), coconut husk fibre, Biosol compost, lime, organic fertilizers) as it creates the perfect environment for veggies and herb growing. Don’t forget to fertilizer. Try Farad’s Vegetable Organic 4-3-7 slow release fertilizer. Simply sprinkle the pellets on the top of the soil and as you water, the nutrients break down and are released to plants roots. When selecting a container for growing vegetables, make sure there are drainage holes in the bottom to take away excess water and that you cover the holes with landscape fabric so soil doesn’t seep out when you water. Make sure to water your containers daily – if not twice a day – in warm weather. Soil needs to be moist but not wet. Just a gentle reminder, wait until frost has pasted usually after the long weekend in May before starting your container gardens.
Here’s a few brilliant ideas for growing vegetables, edible flowers, and herbs in containers!
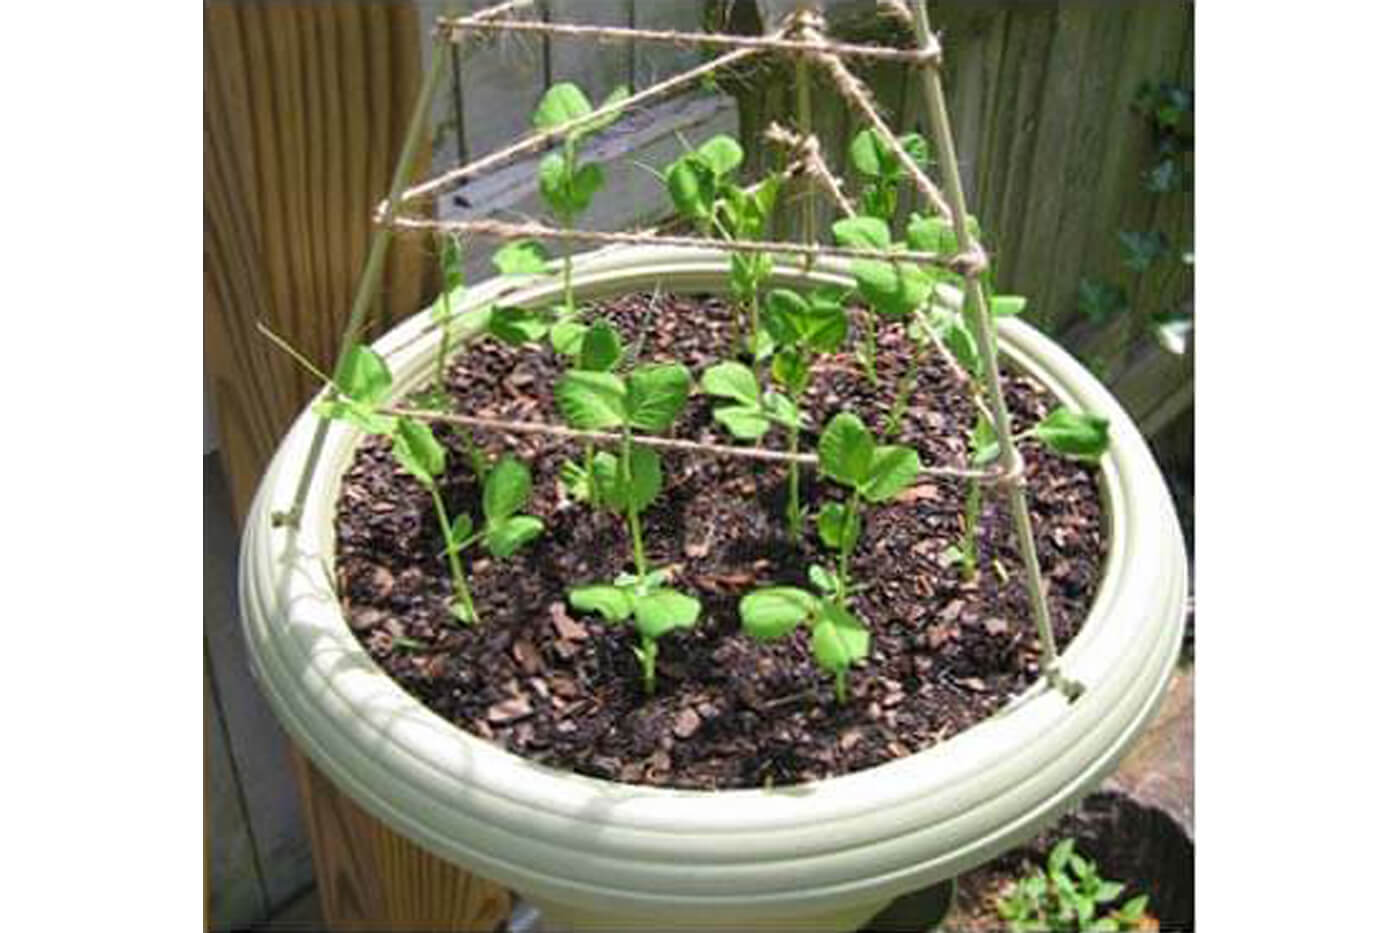
Vertical Tee-Pee Vegetables in a Container
You can grow vegetables vertically using just a couple simple items: a large container, soil, seeds, bamboo stakes and twine, making this perfect for a small space. Brilliant Idea! Select a container with at least a depth of 12 inches. Fill the container with Fafard’s Urban Garden Container Mix until the soil is about 2 inches from the top. Tamp down the soil to remove any air pockets. Take your bamboo stakes and place one stake at the north, one in the south, one in the east and one in the west locations in the container, pushing the stakes into the soil to a depth of at least 6 inches. Take a couple seeds and place them on the soil close to each one of the stakes and gently push the seeds into the soil to a depth of ½ inch then cover up the seeds with soil. Next pull the bamboo stakes together to the top so they meet and wrap them all with twine about 3 inches down. Now you have a tee-pee. Wrap twine around each of the bamboo stakes creating a web for your vertical vegetables to grow up. As your seeds grow and mature, make sure to guide the vines and stems towards the twine and if needed, tie them to the web. What can you grow in a tee-pee container? Try the following seeds for the best results:
- Beans (bush, pole, green, or string beans)
- Cucumbers
- Zucchini
- Small squash varieties
- Peas (green, sweet or snow peas)
- Nasturtiums
Veggies in a Galvanized Trough
For the last few years, I have been using this method for clients wanting to grow vegetables. One of the greatest advantages of this method means you don’t have to dig out, fill, and cultivate the soil like you would in an inground garden. Large metal trough gardens are gaining popularity. So, what is a galvanized container? Galvanizing is the process of applying zinc to steel to resist oxidation and prevent corrosion or rusting. Livestock eat and drink from galvanized troughs all the time. Galvanized troughs can be purchased at hardware stores or farm suppliers. If you choose to use a galvanized trough or two, you will want to make sure it is located on ground level because once it’s filled with soil and plants it will be heavy. For me, I like the trough to be a couple inches above ground so I suggest placing wood (2×4’s) or concrete paver supports under the trough. This will allow for air flow under the trough and provides a place for water to drain. You’ll want to make sure there are drainage holes in the bottom of the trough. You can drill or punch holes (using a quarter or half inch metal drill bit) in the bottom about 12 inches apart and then place a piece of landscape fabric over the holes to ensure soil doesn’t seep out when watering. Depending on the depth of the trough, fill about halfway with screened topsoil, and tamp down the soil to remove air pockets. Fill the remaining trough with Fafard’s Urban Garden Container Mix until the soil is about 2 inches from the top of the trough. Firmly tamp down the soil to remove air pockets. You might need to add a bit more soil once you have tamped down to bring the level up to 2 inched from the top. Now you’re ready for planting. Select vegetable seeds that are quick germinating and fast growing for the best results. Remember to place taller plants behind shorter plants so as they grow, tall plants do not shade short ones. You can place seeds or seedlings directly into the soil. Try out these vegetables, listed by height:
- 4-5” chives, lettuce, salad greens, radishes, basil
- 6-7” peas, bush beans, onions
- 8-9” carrots, swiss chard, leeks, peppers, parsley, rosemary, spinach
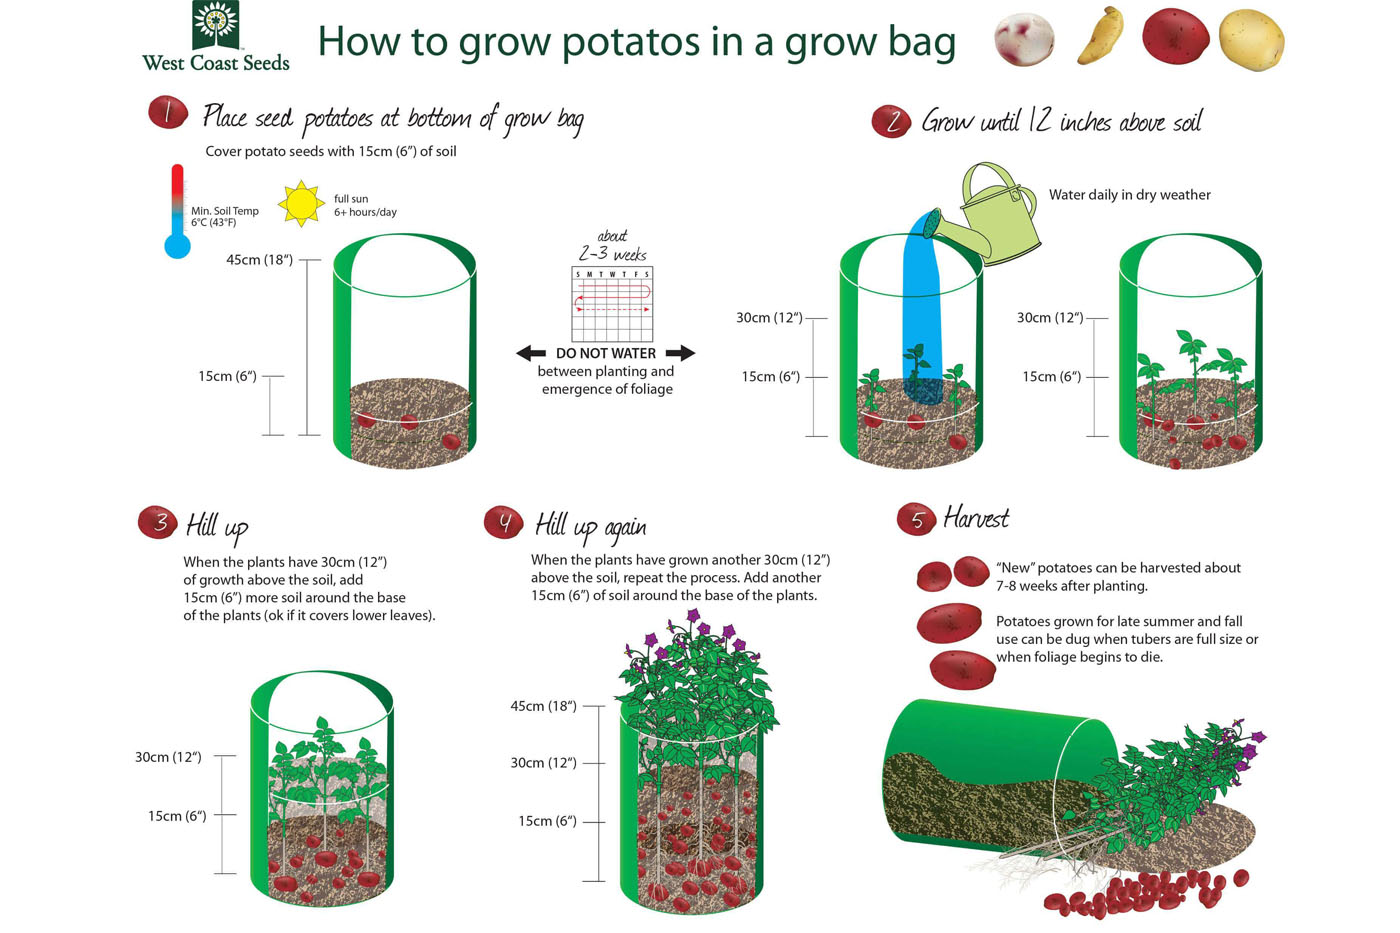
- 10-12” beets, potatoes, dill, lemongrass, green beans

Don’t forget to check your vegetables, daily. Trough vegetables require more water then inground vegetables so you will need to water daily (sometimes twice daily in dry conditions) for the best growing results.
The Edible Flower Container
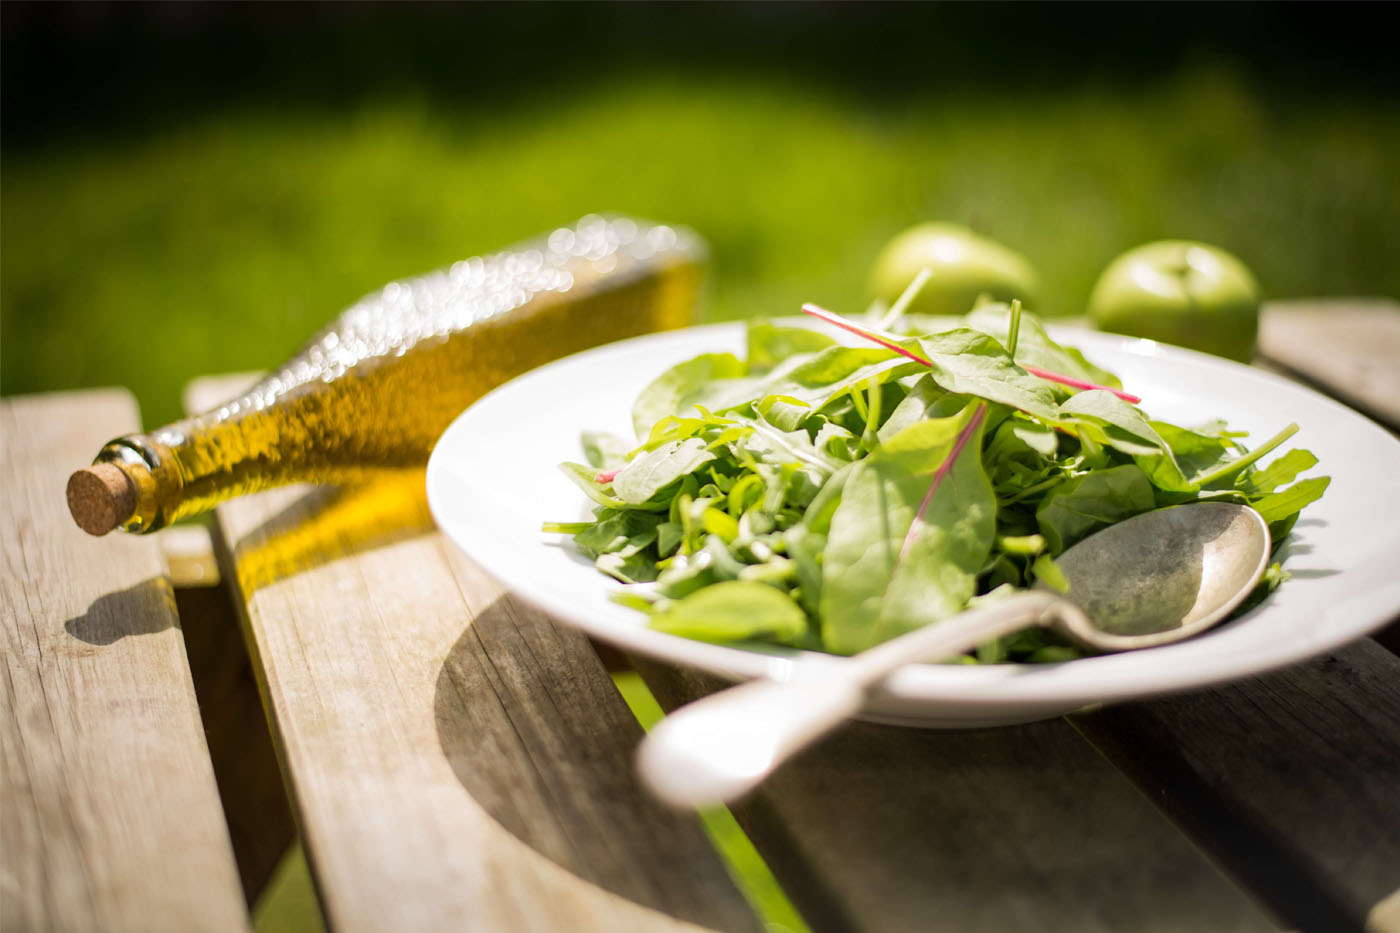
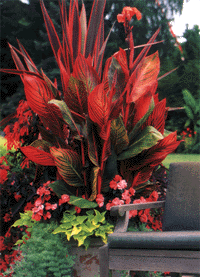
Edible flowers in containers – okay not for everyone – however I know I spend too much money at our local store when I want edible flowers. There are many flowers that are safe to eat and many of the flowers of culinary herbs are edible. Edible flowers are great for salads, prettying up desserts, adding colour to entrees, and can be sugared. Why not try your hand at planting an edible flower container? Brilliant Idea! How to get started: select a large container as you’ll want to have enough room in your container for growing a mix of flowers. I would suggest a container at least 12 inches deep and at least 20 inches wide. Make sure the container has drainage holes in the bottom. You can cover the drainage holes with landscape fabric to ensure soil doesn’t seep out when you water. Fill the container with Fafard’s Container Mix. This soil mix promotes 2x more blooms and requires 30% less water than most popular container mixes which is ideal for planting flowering annuals. Most edible flowers can be purchased in cell packs and transplanted directly into a container. I love Rainbow swiss chard so that would be my focal point in the middle for my edible container. Around swiss chard, I would plant a few of the following:
- Nasturtiums (Tropaeolum majus) produce edible flowers great for salads or as decoration for entrees
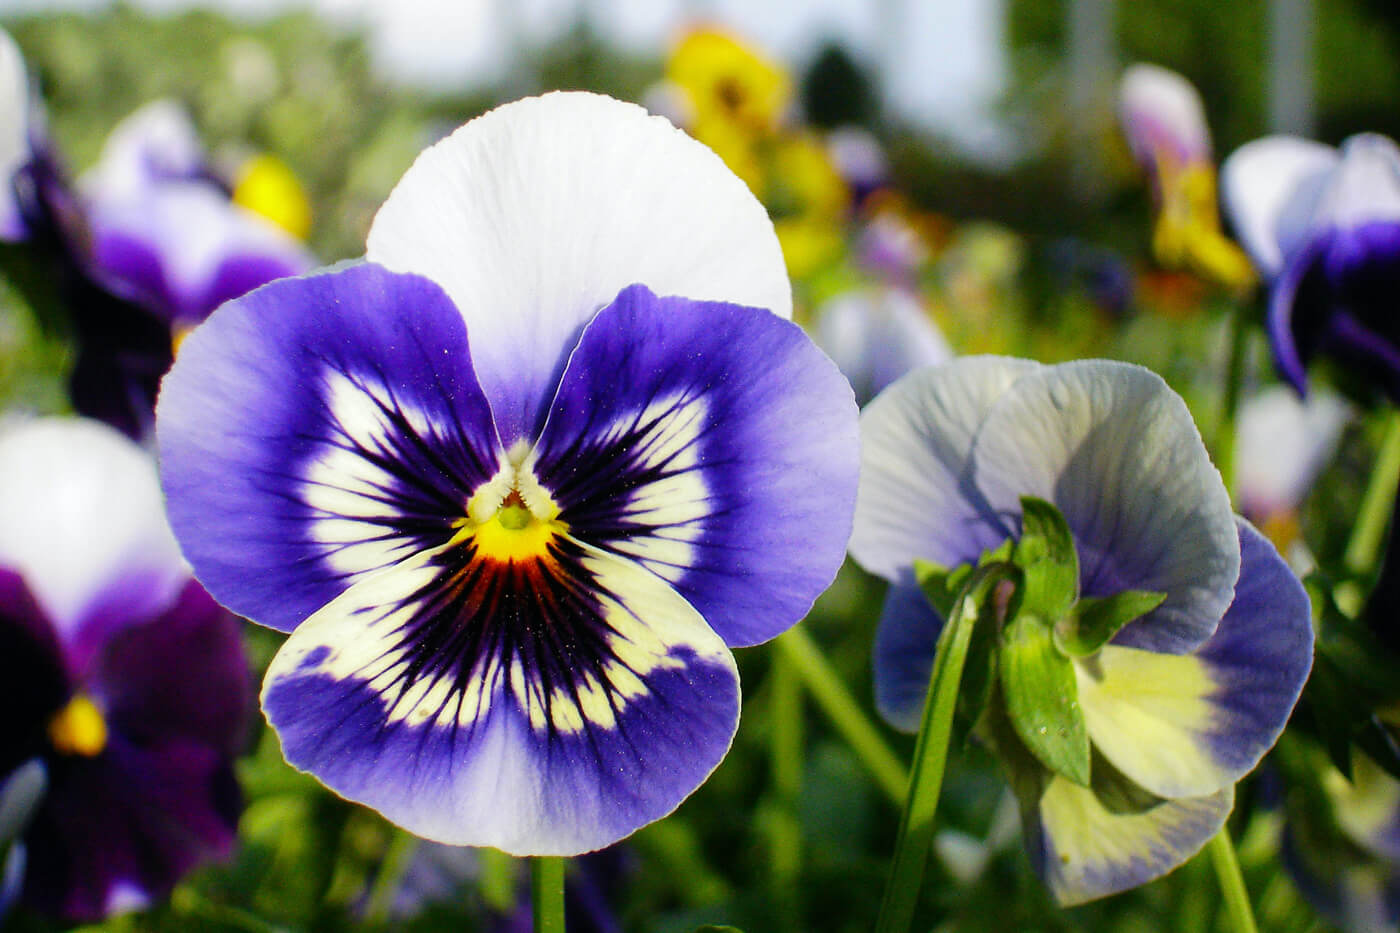
- Pansies (Viola X wittrockiana) flower petals are edible and highly decorative
- Calendula (Calendula officinalis) edible flower petals
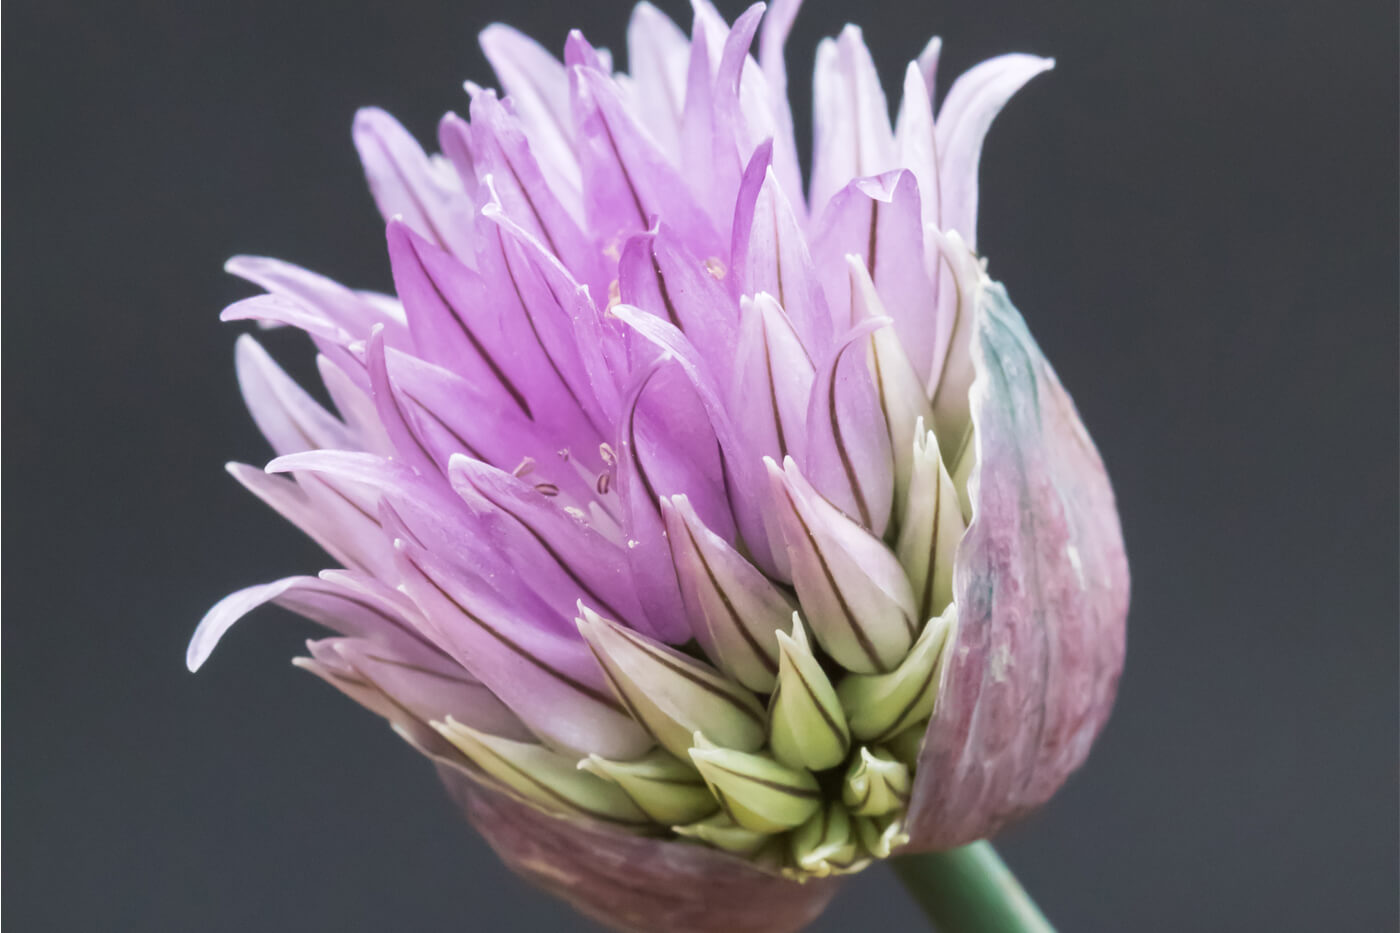
- Chives (Allium schoenoprasum) the little florets of the flowers can be separated and scattered in salads
- Basil (Ocimum basilicum) wait for basil to flower, flowers great sprinkled over pasta
- Radish (Raphanu sativus) let radish go to flower, flowers are spicy-hot great for soups and salads
- Rose (Rosa spp.) flower petals are edible however you need to remove the bitter white base
A few tips: remember before venturing out to harvest a bunch of flowers, it’s important to remember that some flowers are poisonous. You need to make sure you identify each variety before using and don’t use flowers that have been sprayed with pesticides or chemicals. Pick edible flowers in the morning before the heat of the day, and keep them on a dampened paper towel inside a sealed container in the refrigerator for best freshness.
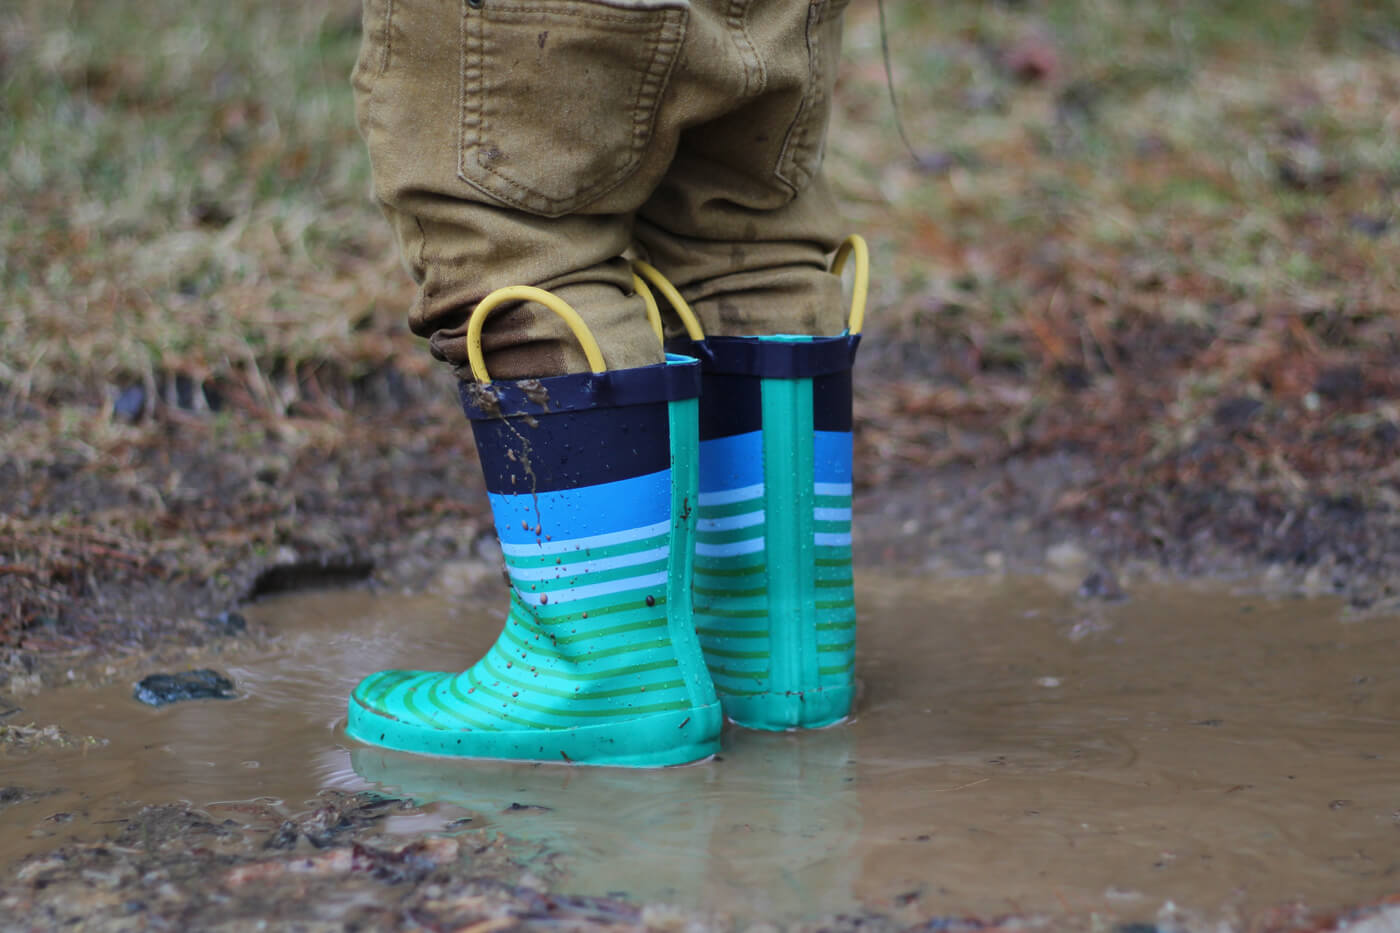
Something for the Kids! Rubber Boot Containers
What do you do with rubber boots kids have out-grown? Turn them into vegetable or herb containers, of course. Brilliant Idea! Wonderful, fun container gardens for kids that are colourful and easy to do. Wash out old rubber boots really well, then poke a couple holes in the sides for drainage. Fill with Fafard’s Urban Garden Container Mix to a level of about 1 inch from the top of the boot. Tamp down the soil to make sure you remove air pockets. Now plant with kid fun vegetables, edible flowers and herbs. Give these plants a try either from seed or cell pack:
- Mixed greens
- Chives
- Parsley
- Pansies
- Nasturtiums
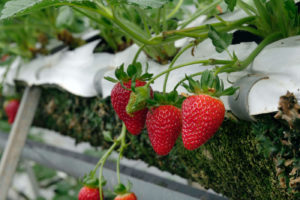
- Strawberries
Cut out the toes of the rubber boots and plant with herbs like:
- Basil
- Parsley
- Thyme
This is a great way to get kids outside and into the sunshine. And who knows, perhaps your kids will be our next generation of gardeners.
Use your imagination to create amazing edible containers. Growing vegetables, herbs and edible flowers is easy and fun for everyone!
Happy Gardening
Lexi – The Gabby Gardener